Resources
Full Tutorial walkthrough
Watch on YouTubeStarts at 0:00
Download & Install
Download & Install walkthrough
Watch on YouTubeStarts at 0:42
Download here. Click the Download for Windows button, then run the installer once it finishes downloading.
Windows may show a protection screen because Plattera is not signed by a recognized publisher yet. This is expected for now.
Windows protection prompt
Click More info, then select Run anyway to continue the installer.
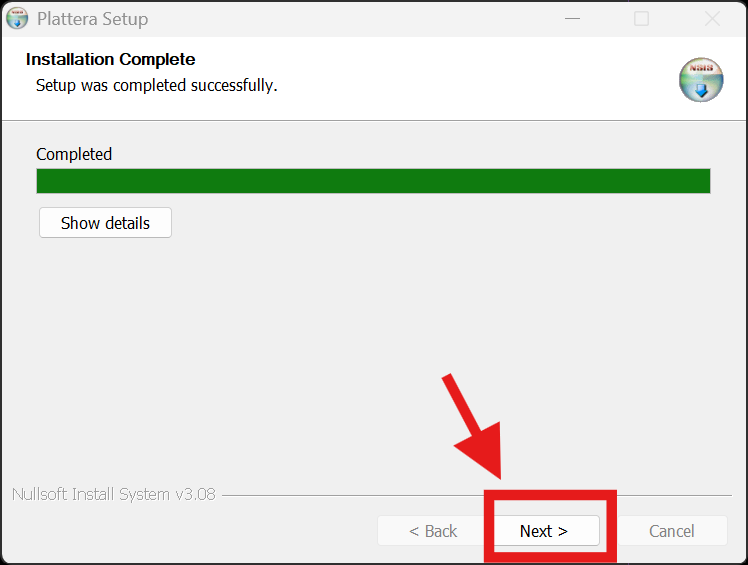
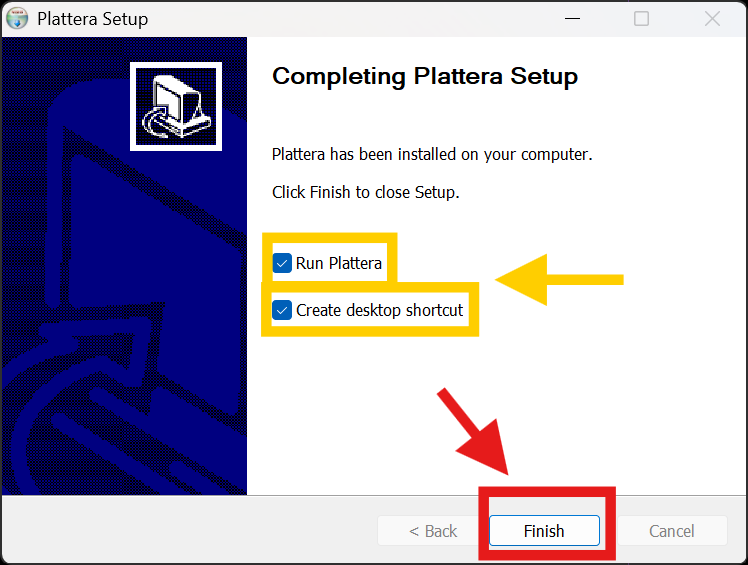
Installer flow
Follow the standard installer steps. Screenshots are included for reference.
API Key Setup
API Key Setup walkthrough
Watch on YouTubeStarts at 4:55
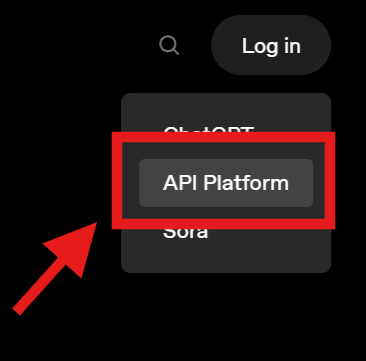
Open the OpenAI API page
- Go to https://openai.com/api/.
- Click Log in (top-right).
- If prompted, choose API Platform.

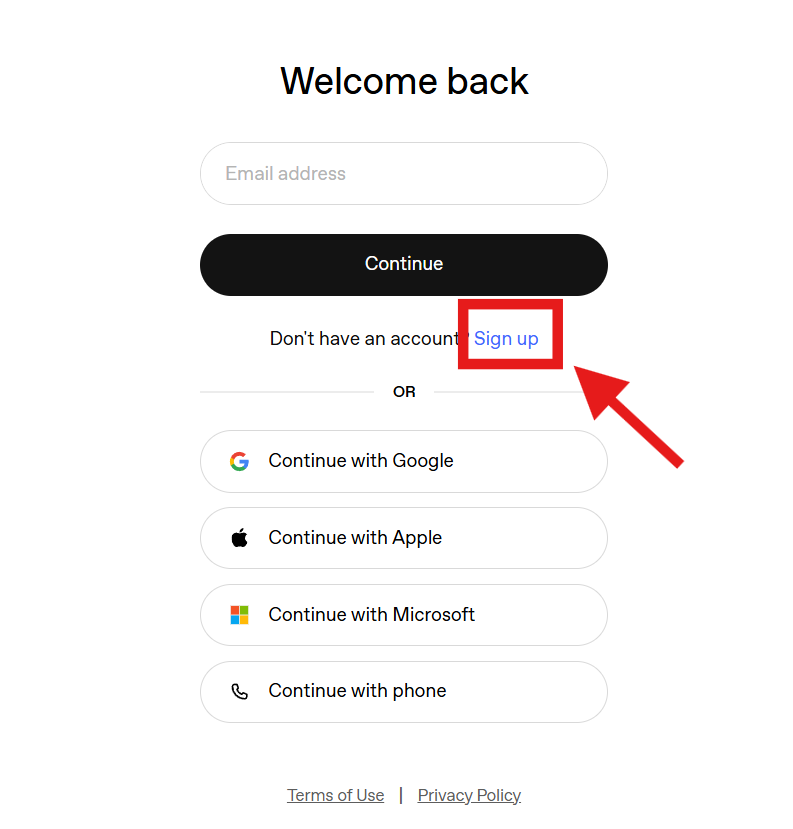
Sign in or create an account
- Enter your email and click Continue, or choose Sign up.
- Finish login with your provider (Google, Apple, Microsoft, etc.).
Optional: Create a Plattera project
- In the API Platform, open Settings.
- Under Organization, open Projects.
- Click Create project and name it Plattera.
If you skip this, you can still create a key without a project.
Set up billing
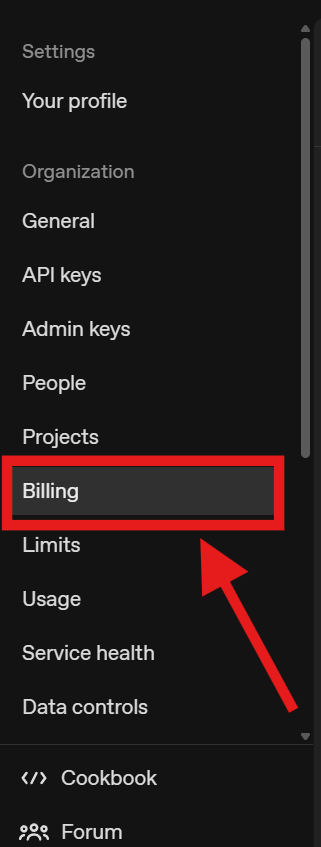
- In Settings, open Billing.
- Add a payment method or prepaid credits.
If billing is not set up, API requests can fail until funding is active.
Create the API key
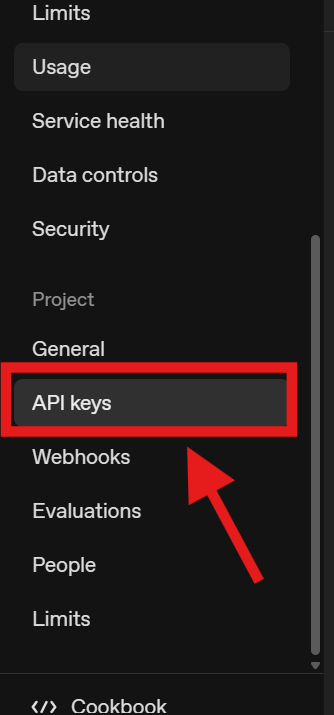
- In Settings, open API keys.
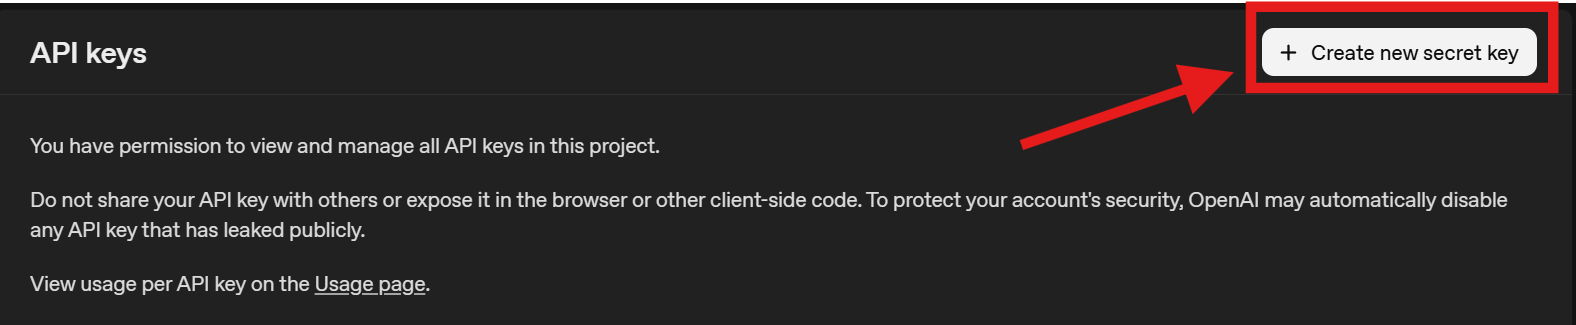
- Click Create new secret key.
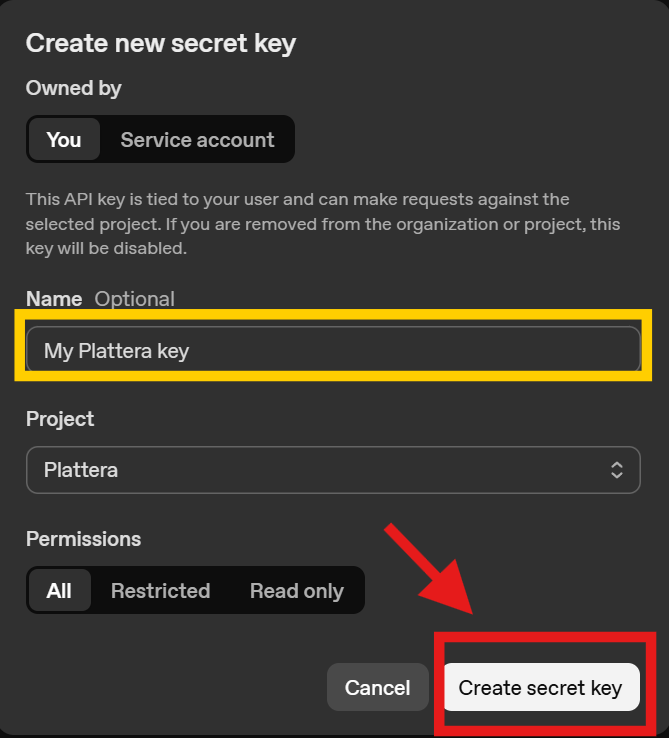
- Name it (example: My Plattera key), select the Plattera project if created, and keep permissions as All.
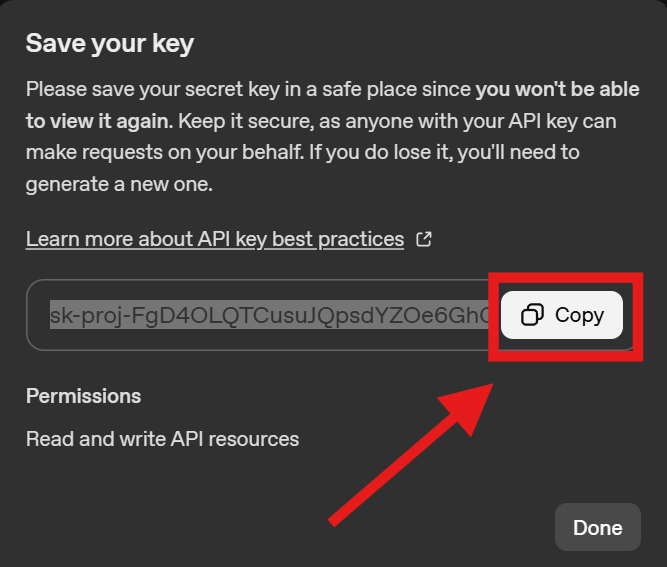
- Create the key, then copy and save it immediately.
Use the key in Plattera
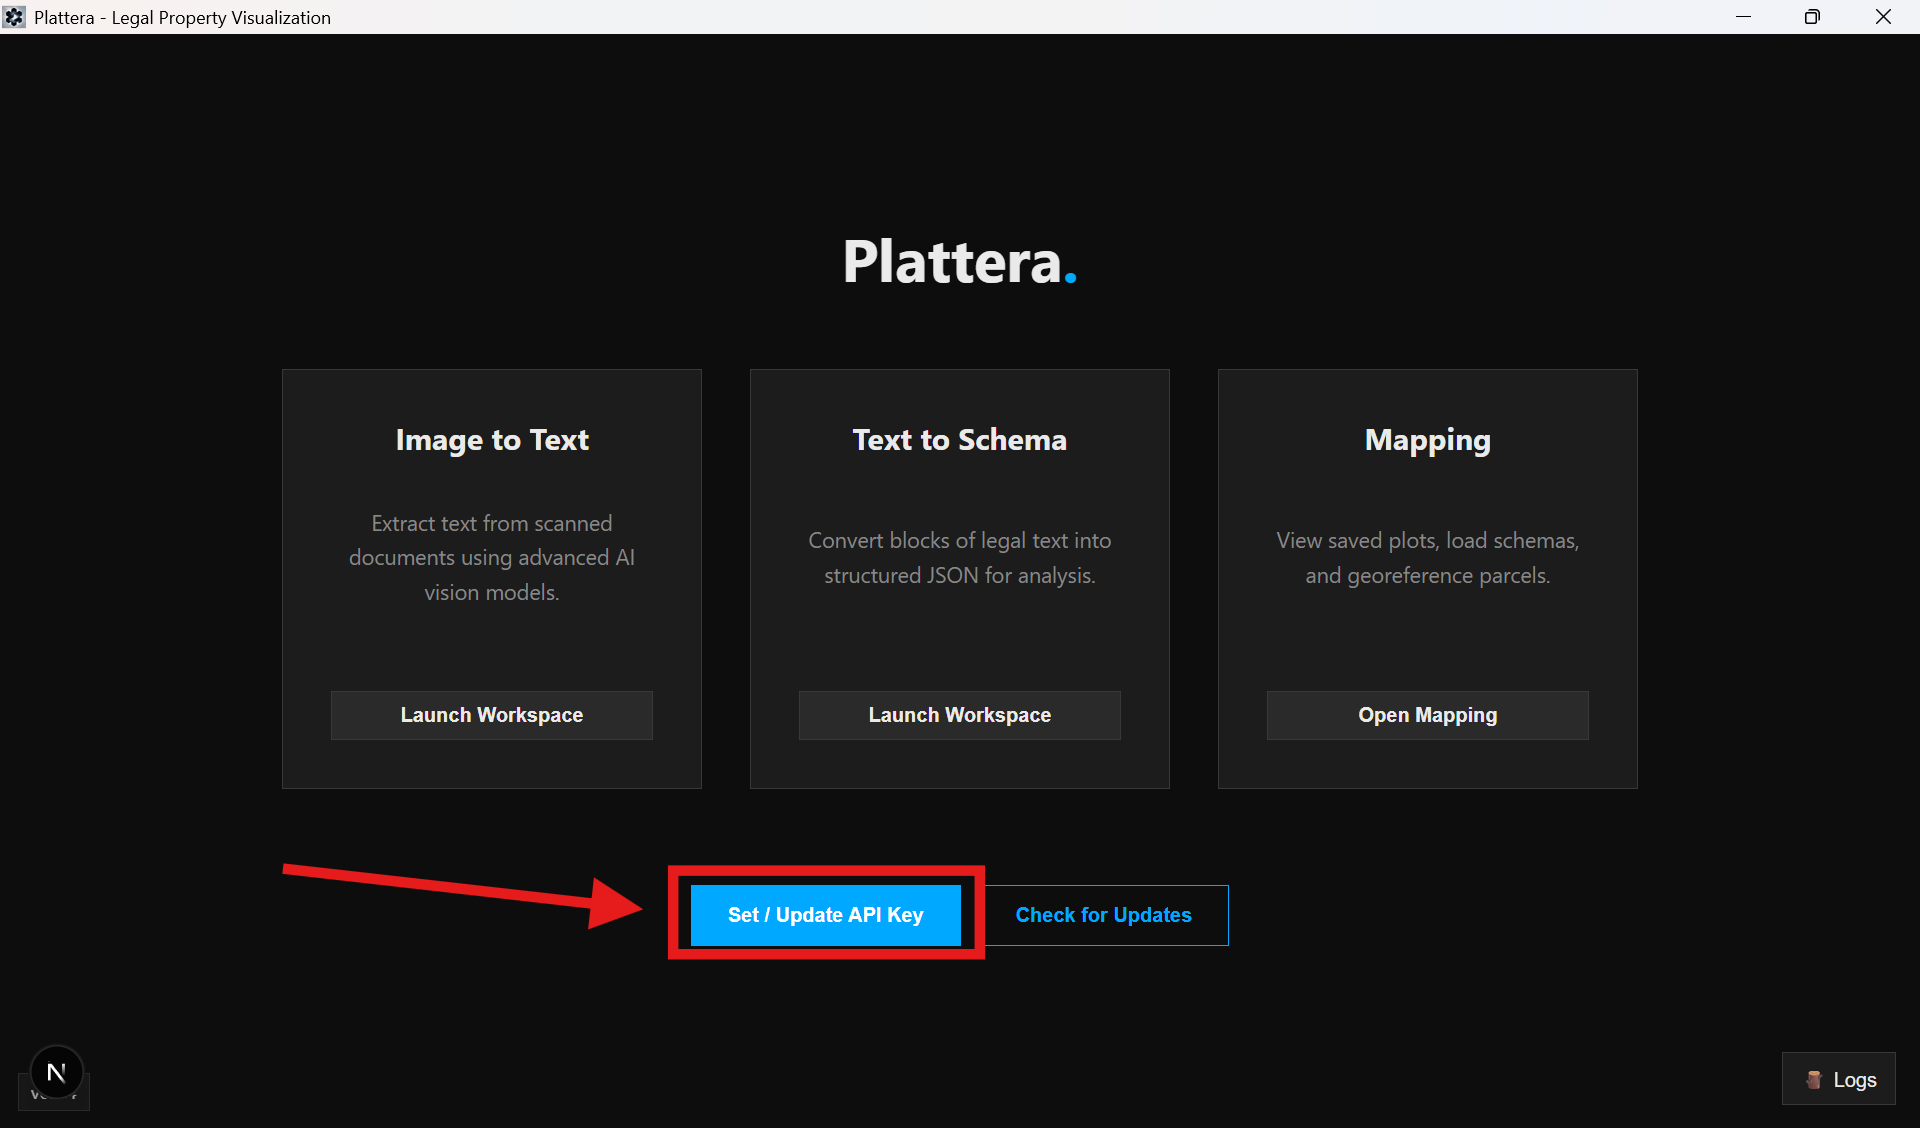
- Open Plattera and find the OpenAI API Key field.
- Paste the key and save/apply.

Safety notes
- Do not share your API key publicly.
- Do not commit the key to GitHub.
- If Plattera reports quota or billing errors, return to Settings > Billing and confirm funding is active.
Image to Text Workspace
Image to Text Workspace walkthrough
Watch on YouTubeStarts at 9:44
The Image to Text workspace turns uploaded imagery into editable draft text and ties each run to dossiers for review.
Entry point
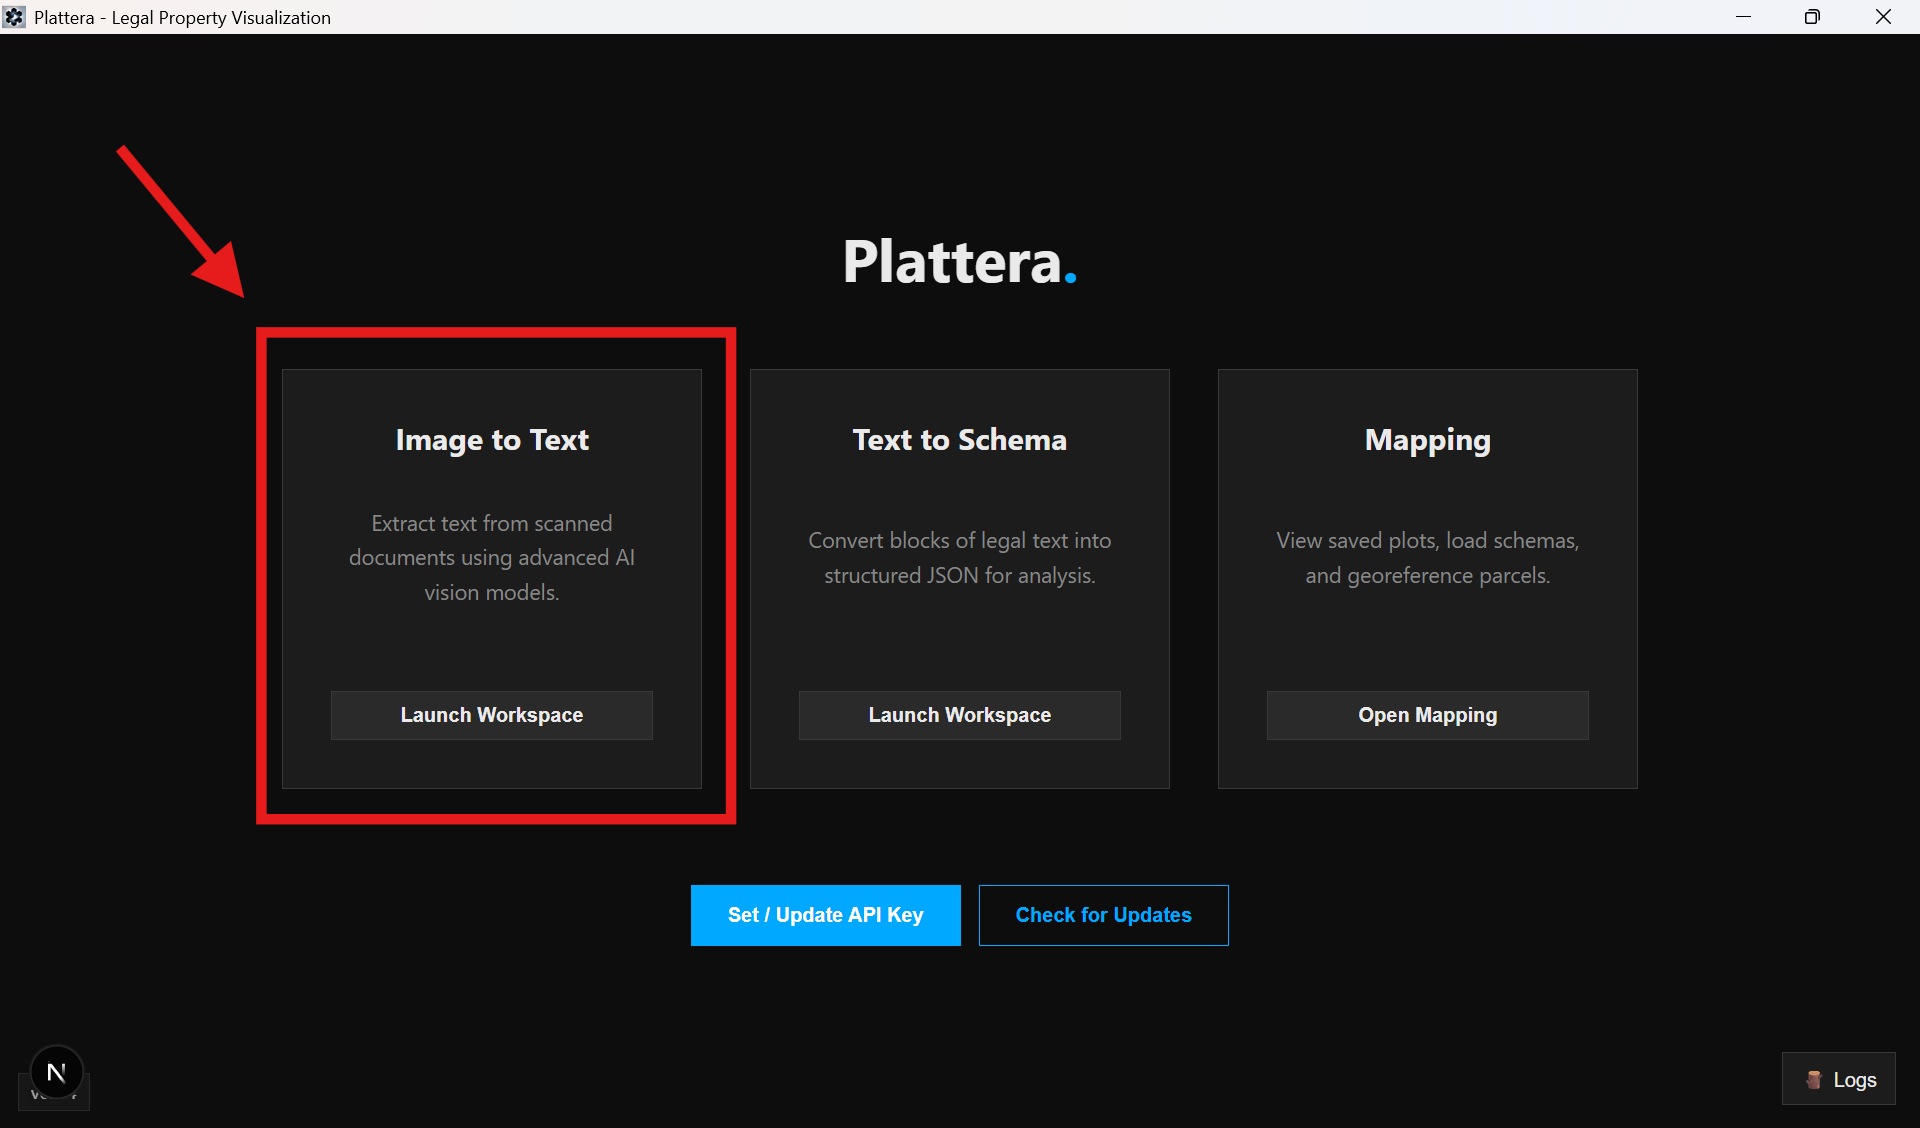
Start from the Image to Text card on the home screen.
Workspace layout
The workspace is split into the Control Panel, Dossier Manager, and Results Viewer.
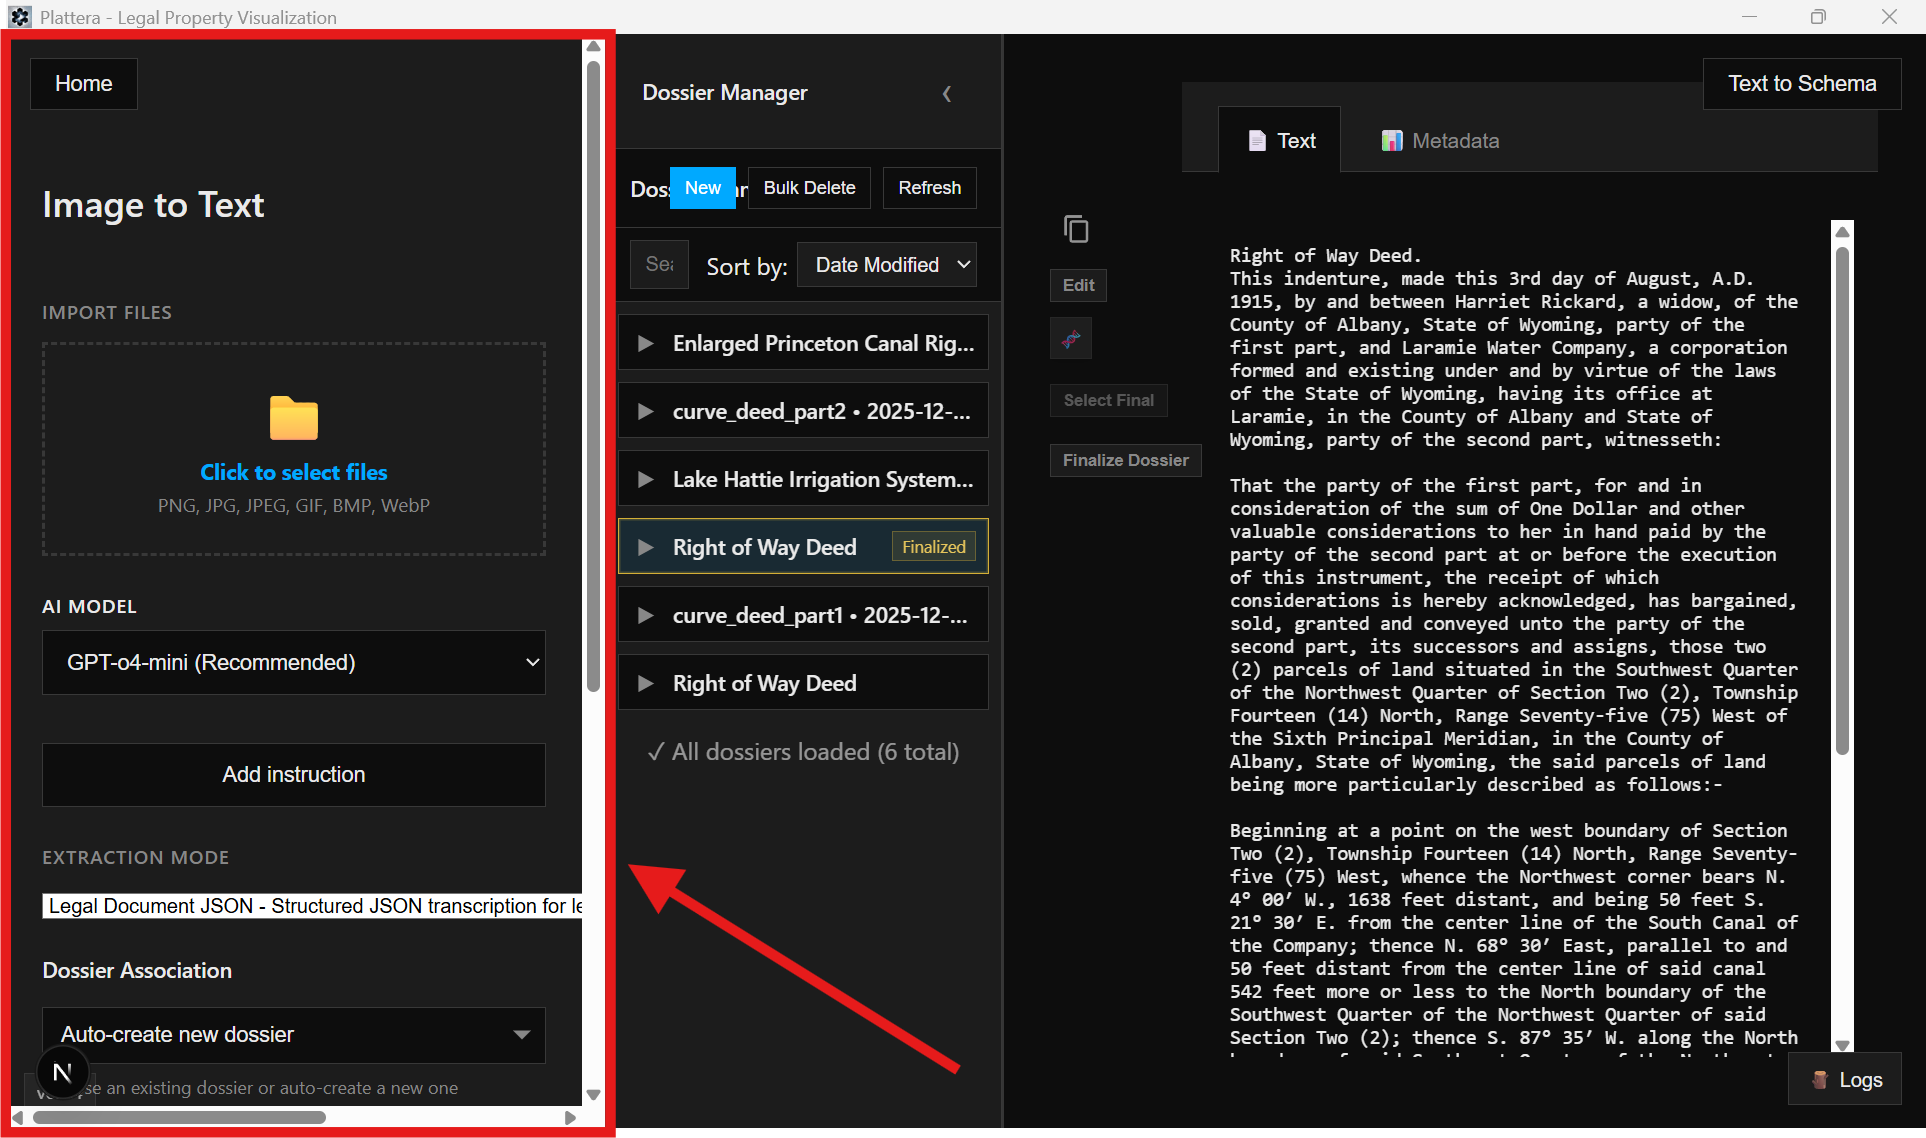
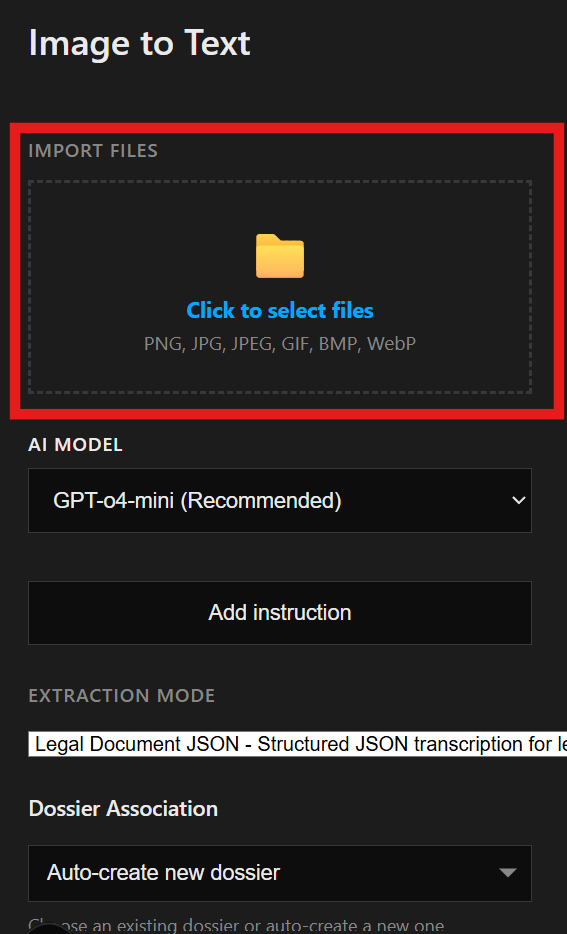
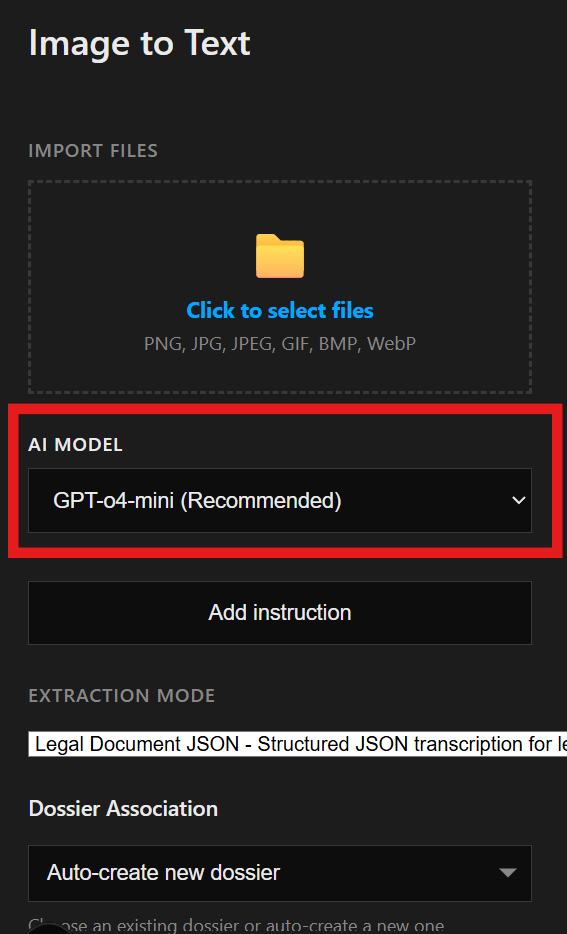
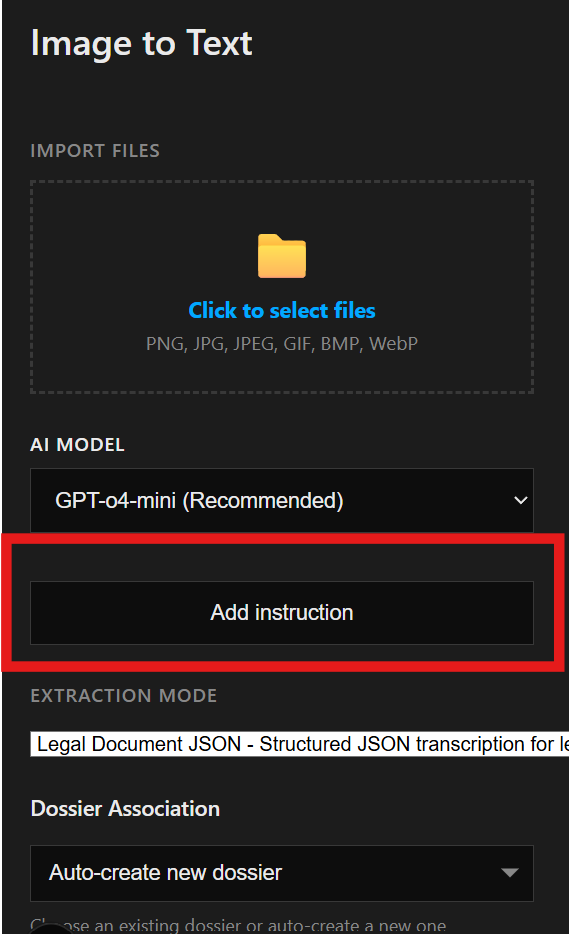
Control Panel: import + model
- Import one or more image files.
- Select an AI model for extraction.
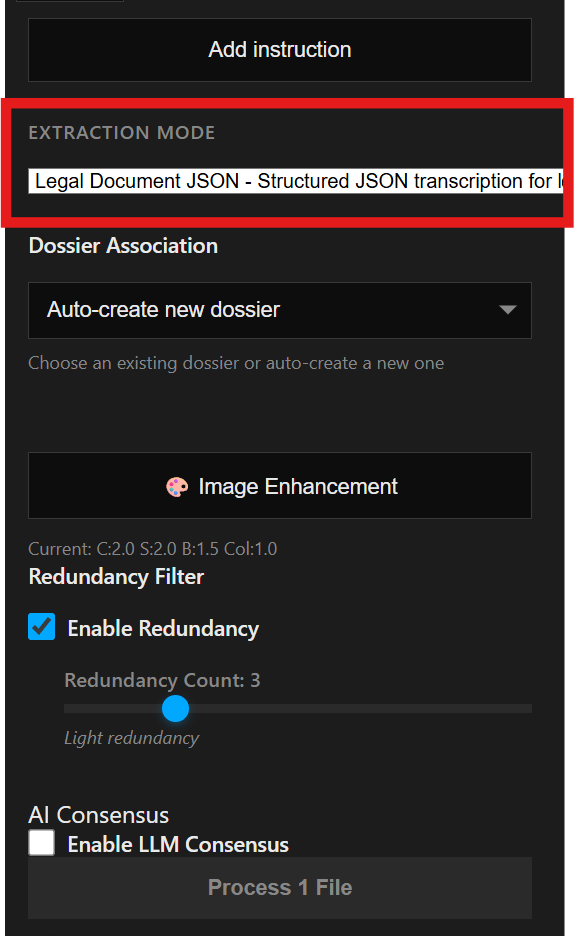
- Choose the extraction mode that matches the document type.
- Add optional instructions if you need custom guidance.
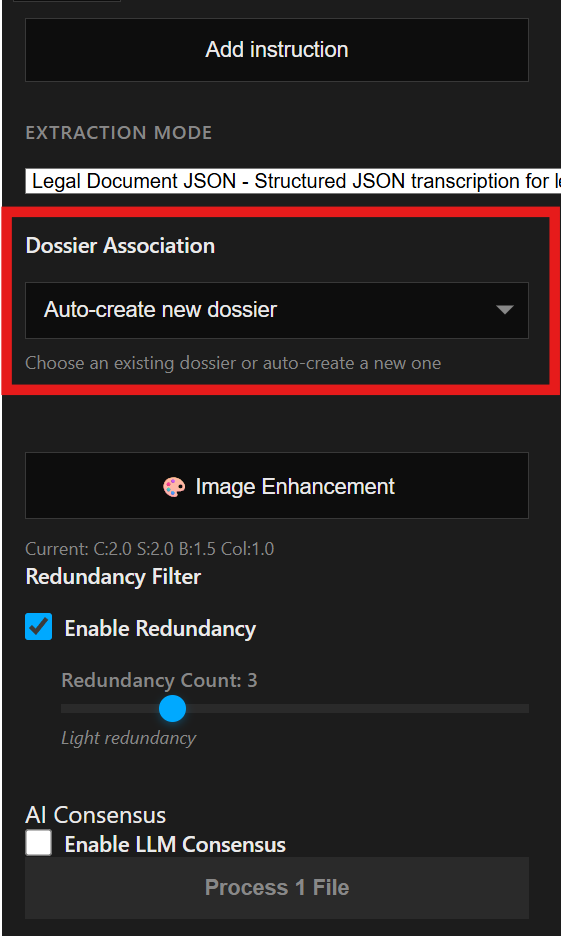
Control Panel: dossier association
Attach the run to an existing dossier, or let Plattera create a new one. You can also target a specific segment.
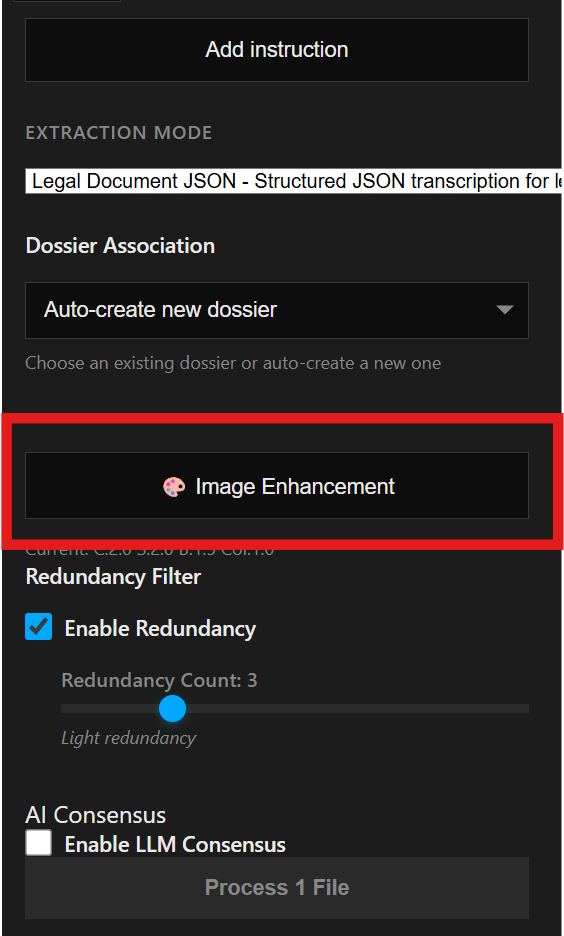
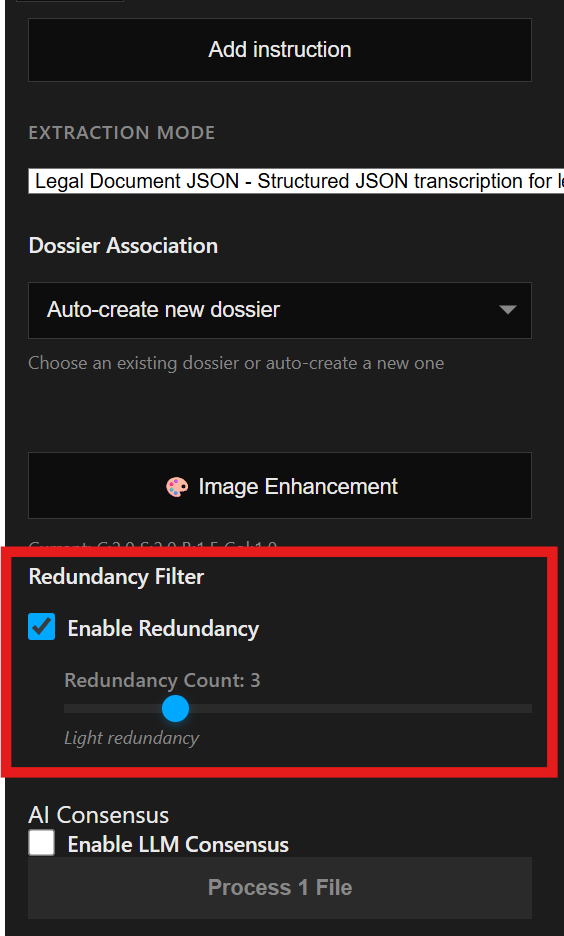
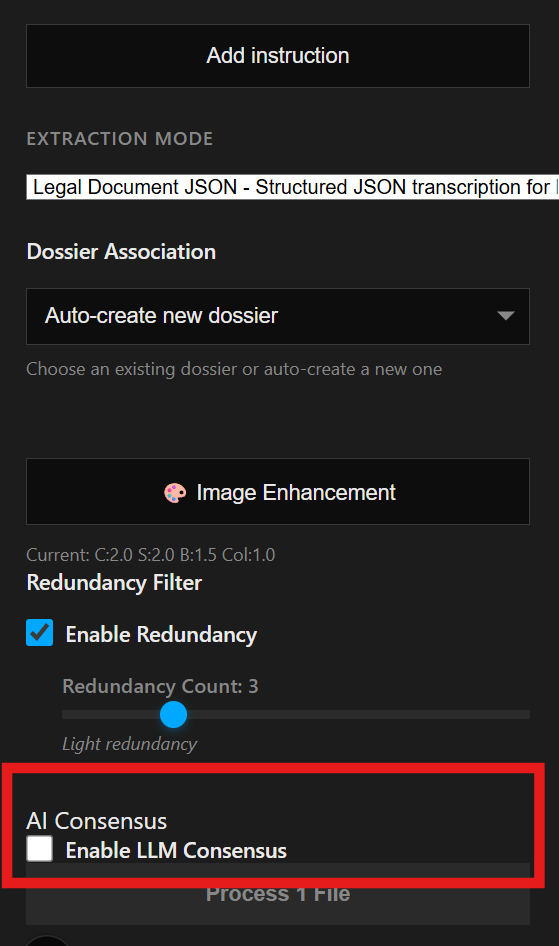
Control Panel: enhancement + redundancy
- Use Image Enhancement to improve contrast and clarity.
- Enable Redundancy to run multiple drafts for comparison.
- Enable LLM Consensus to generate a merged draft from redundancy.
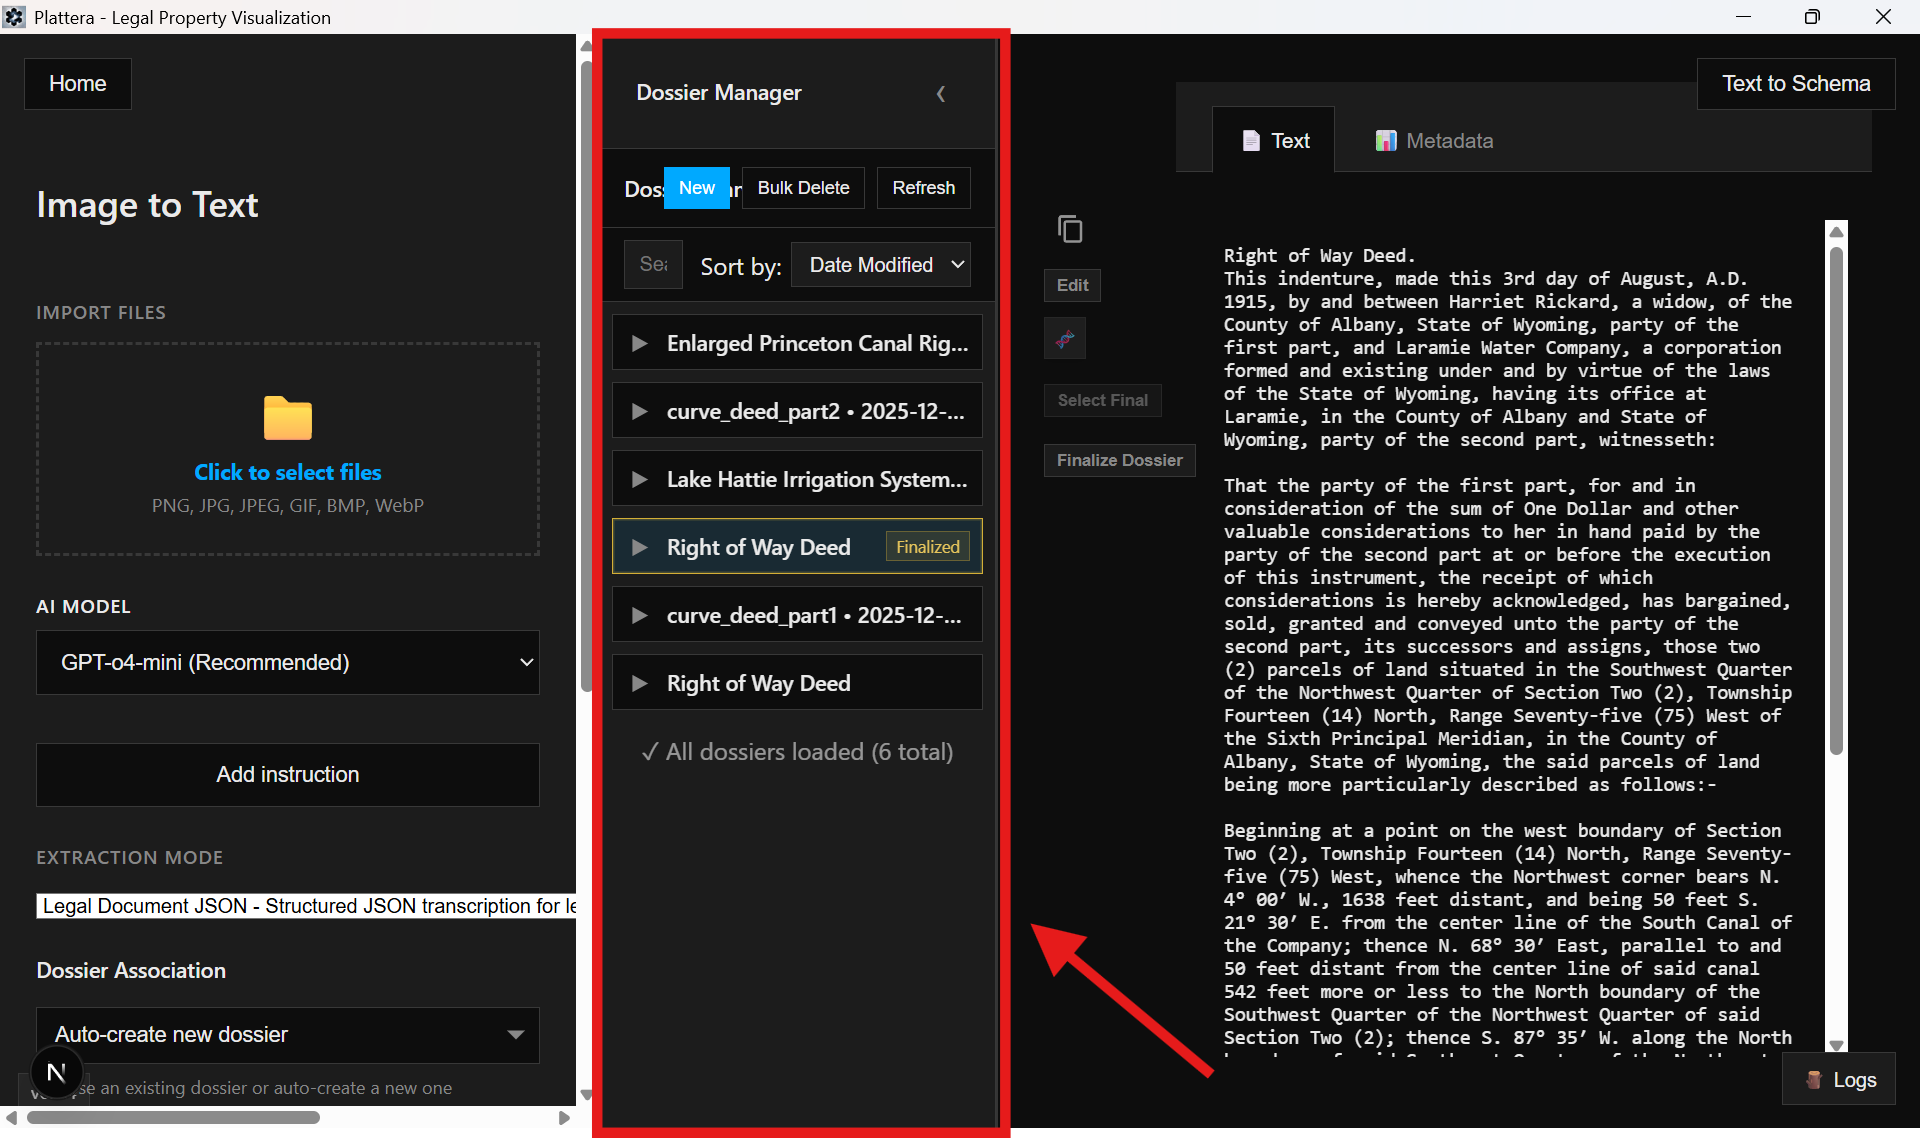
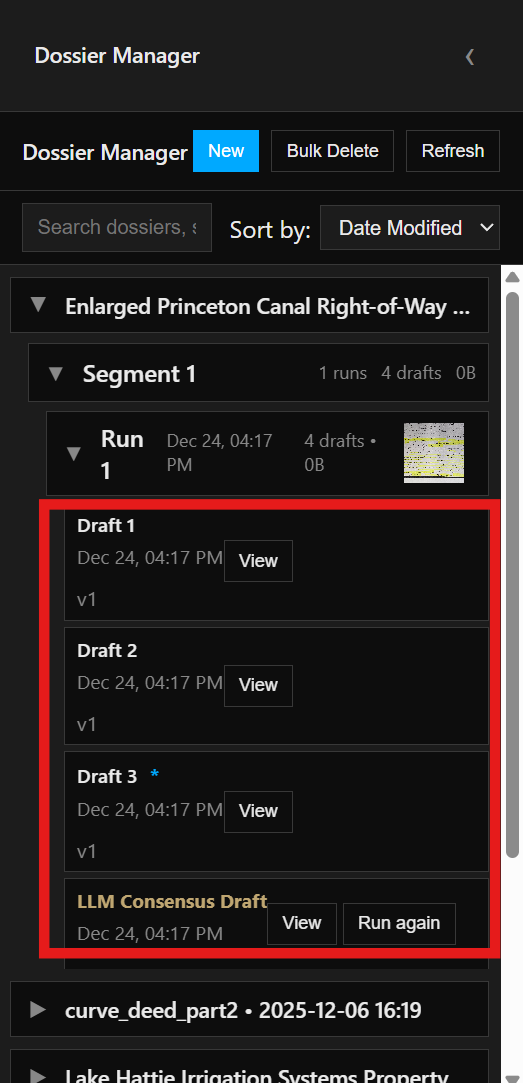
Dossier Manager
Each run appears under its dossier. Expand a dossier to browse segments, runs, and drafts.
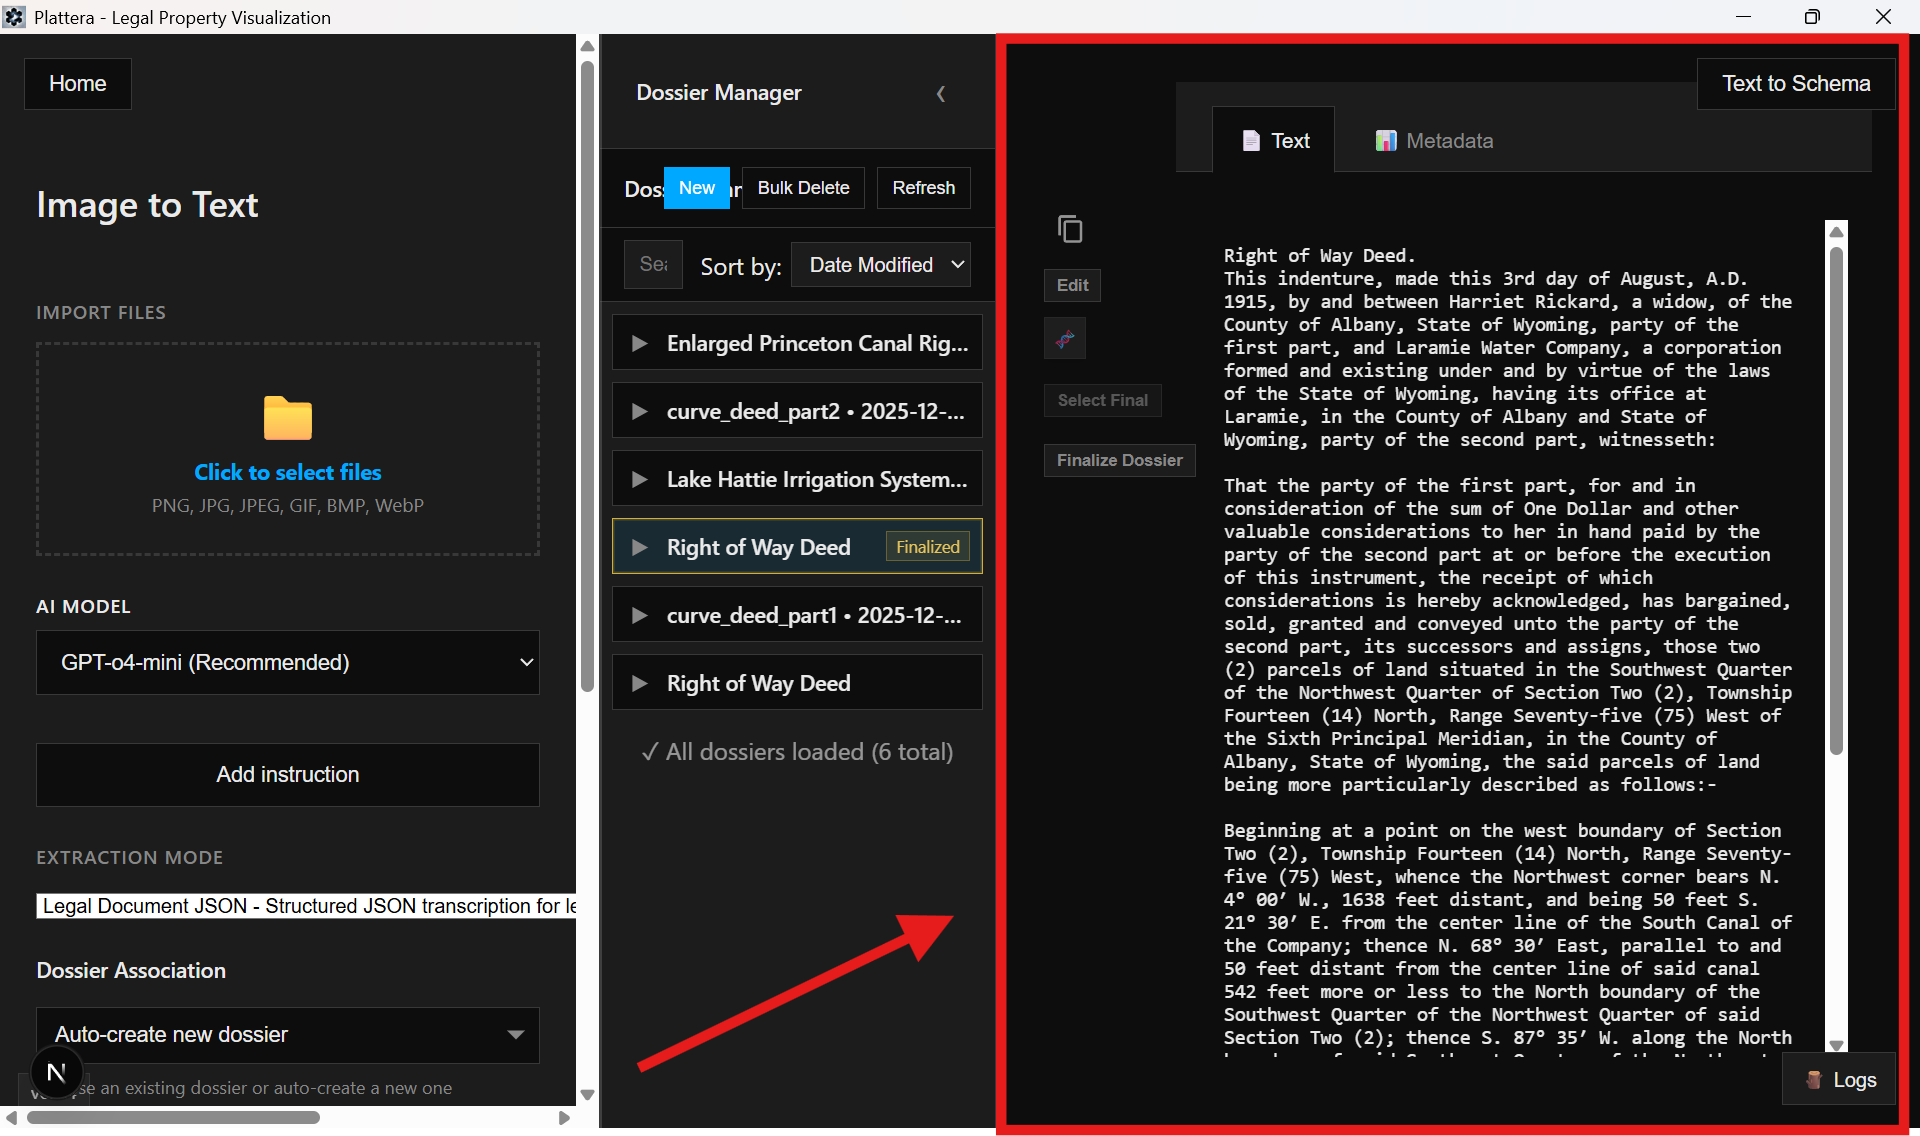
Results Viewer
Review extracted text, JSON, normalized sections, and metadata. Use the tray to edit, align, and set the final draft.
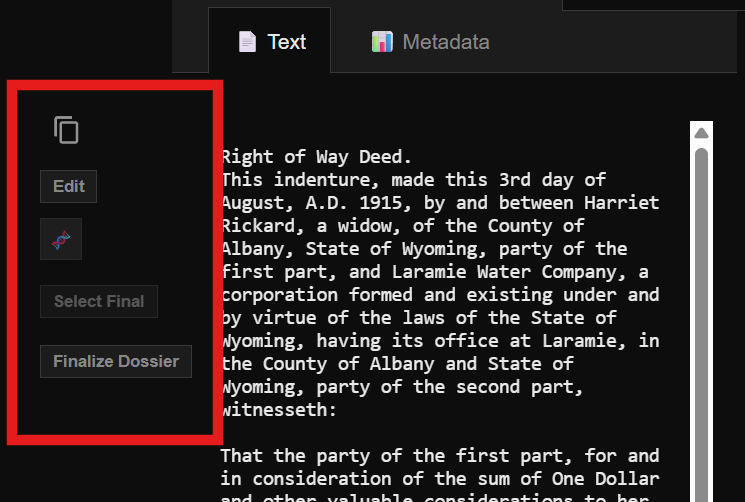
- Edit mode lets you make changes and save back into the draft.
- Alignment is available when redundancy is enabled (2+ drafts).
- Select Final marks the chosen draft for the active segment.
Text to Schema Workspace
Text to Schema Workspace walkthrough
Watch on YouTubeStarts at 29:50
This workspace converts finalized text into structured schema output and gives you tools to validate, edit, and map the result.
Entry point
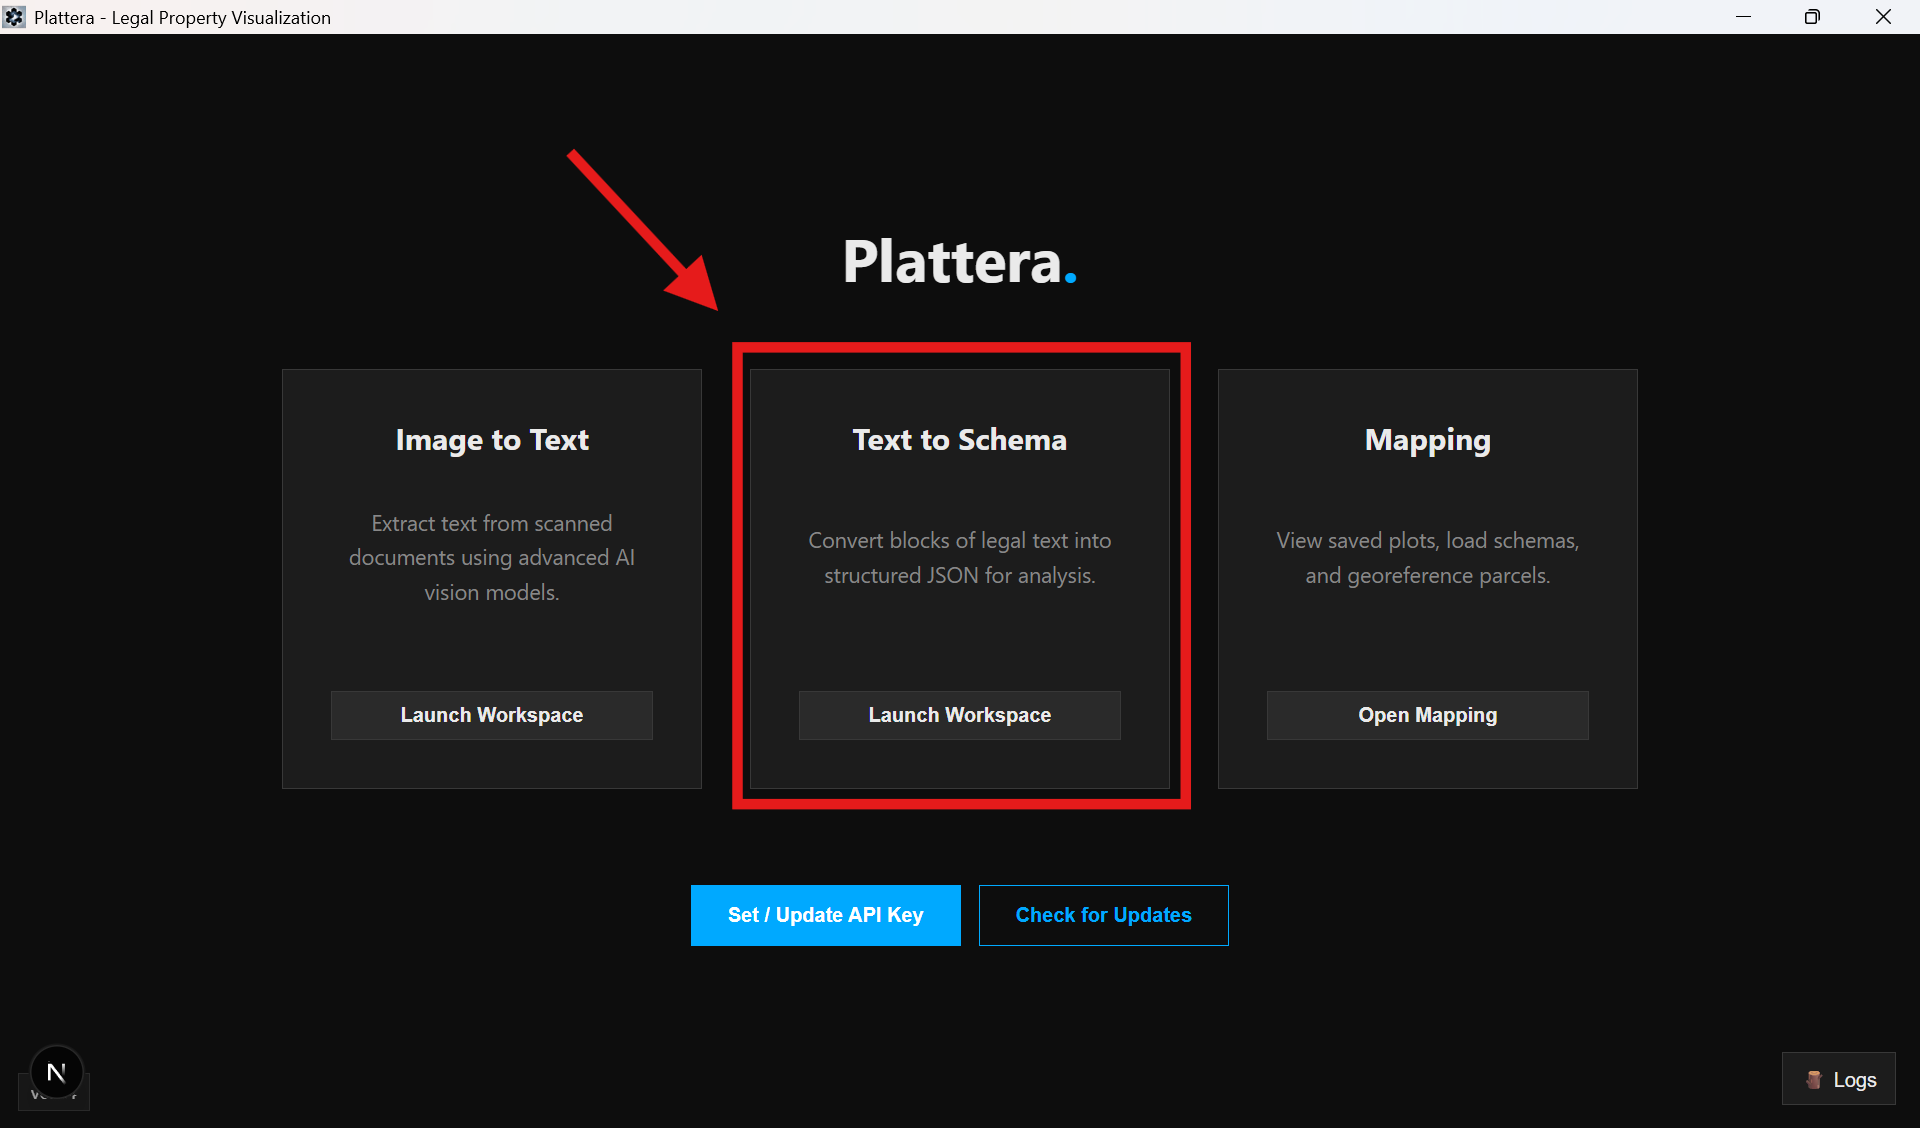
Workspace layout
The workspace is split into the Control Panel, Schema Manager, and Results Viewer.
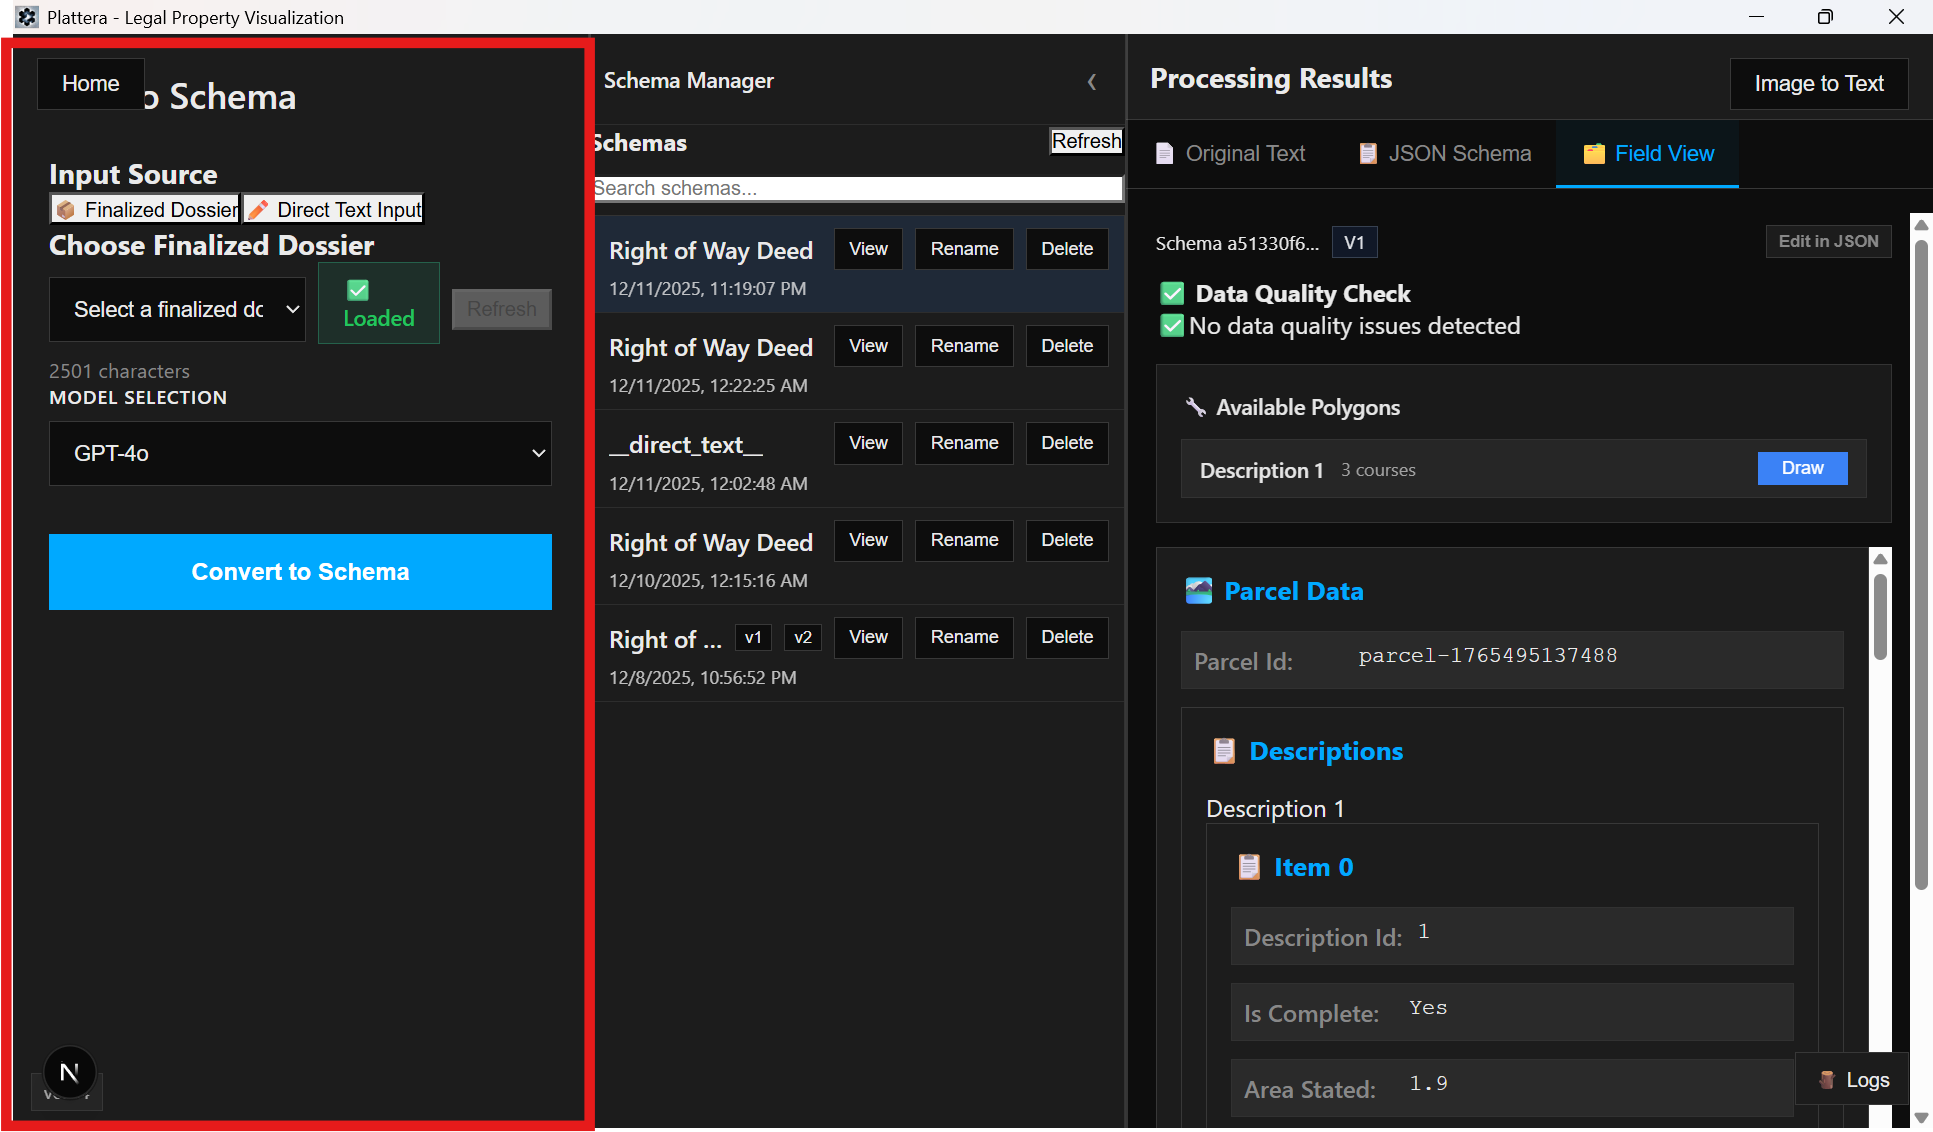
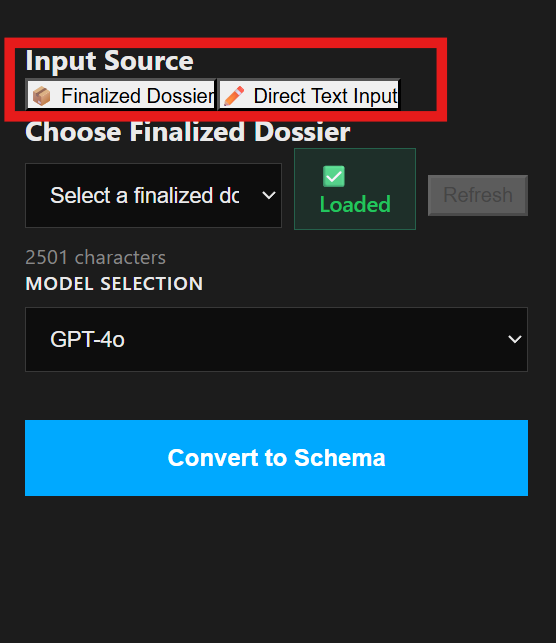
Control Panel: input source
- Select whether you want to use a finalized dossier or direct text.
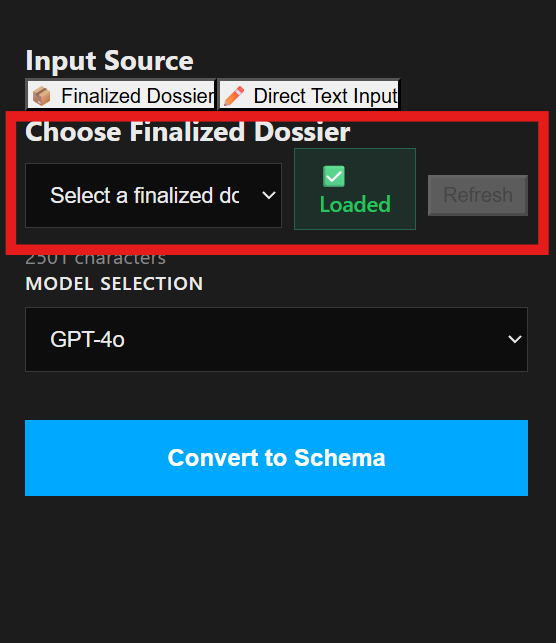
- For finalized dossiers, choose a snapshot to load.
- For direct input, paste or type the text.

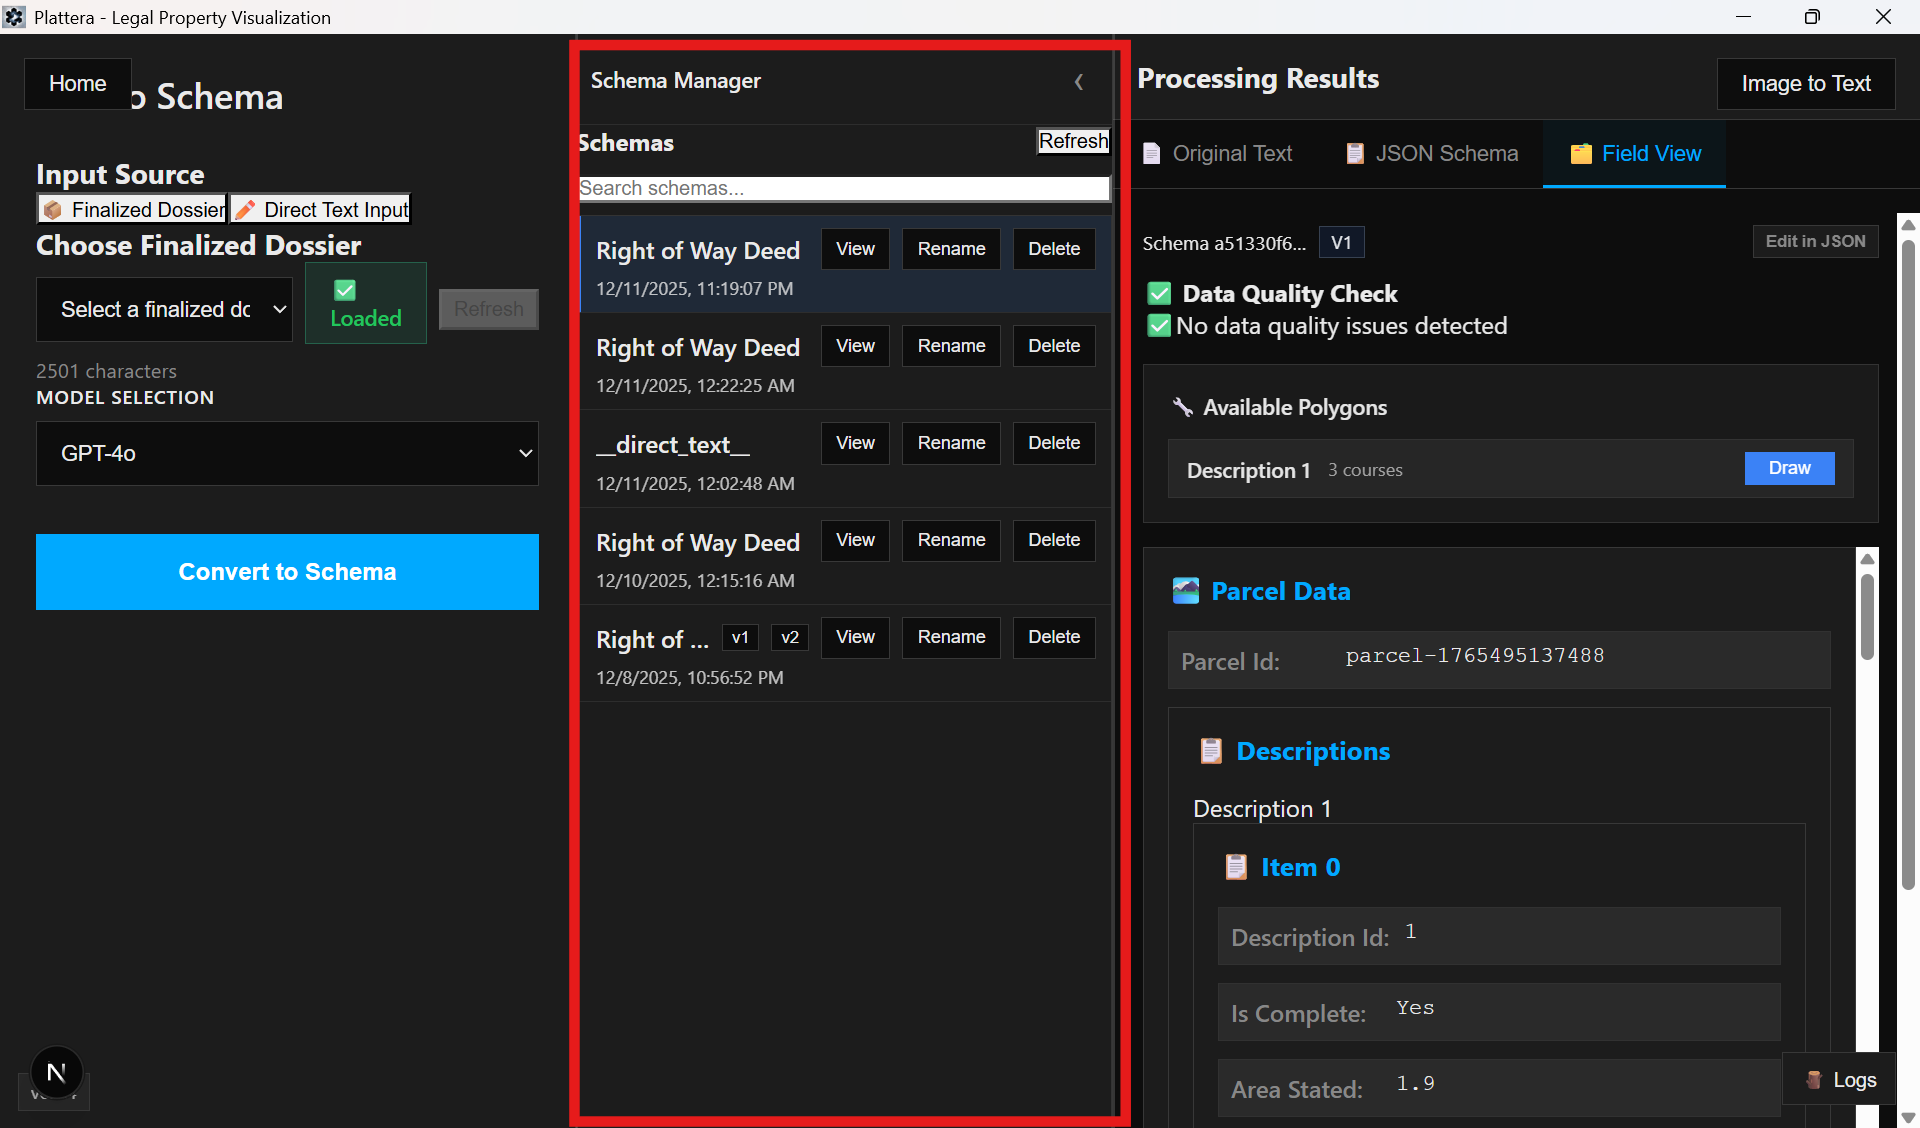
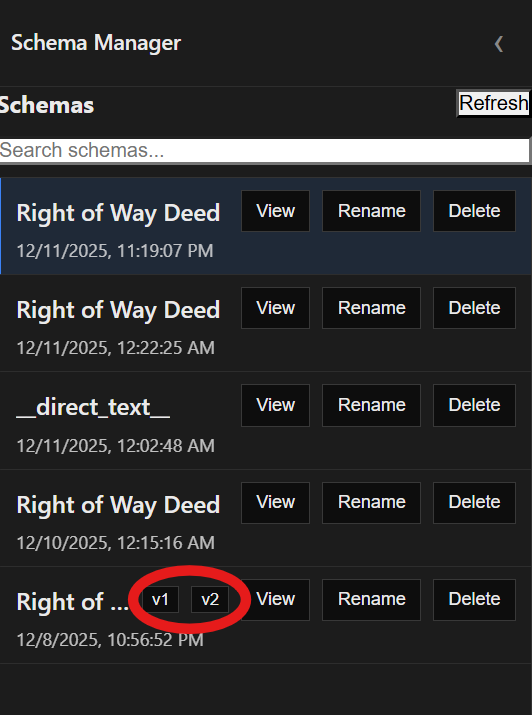
Schema Manager
Use the Schema Manager to browse schema versions and switch between saved outputs.
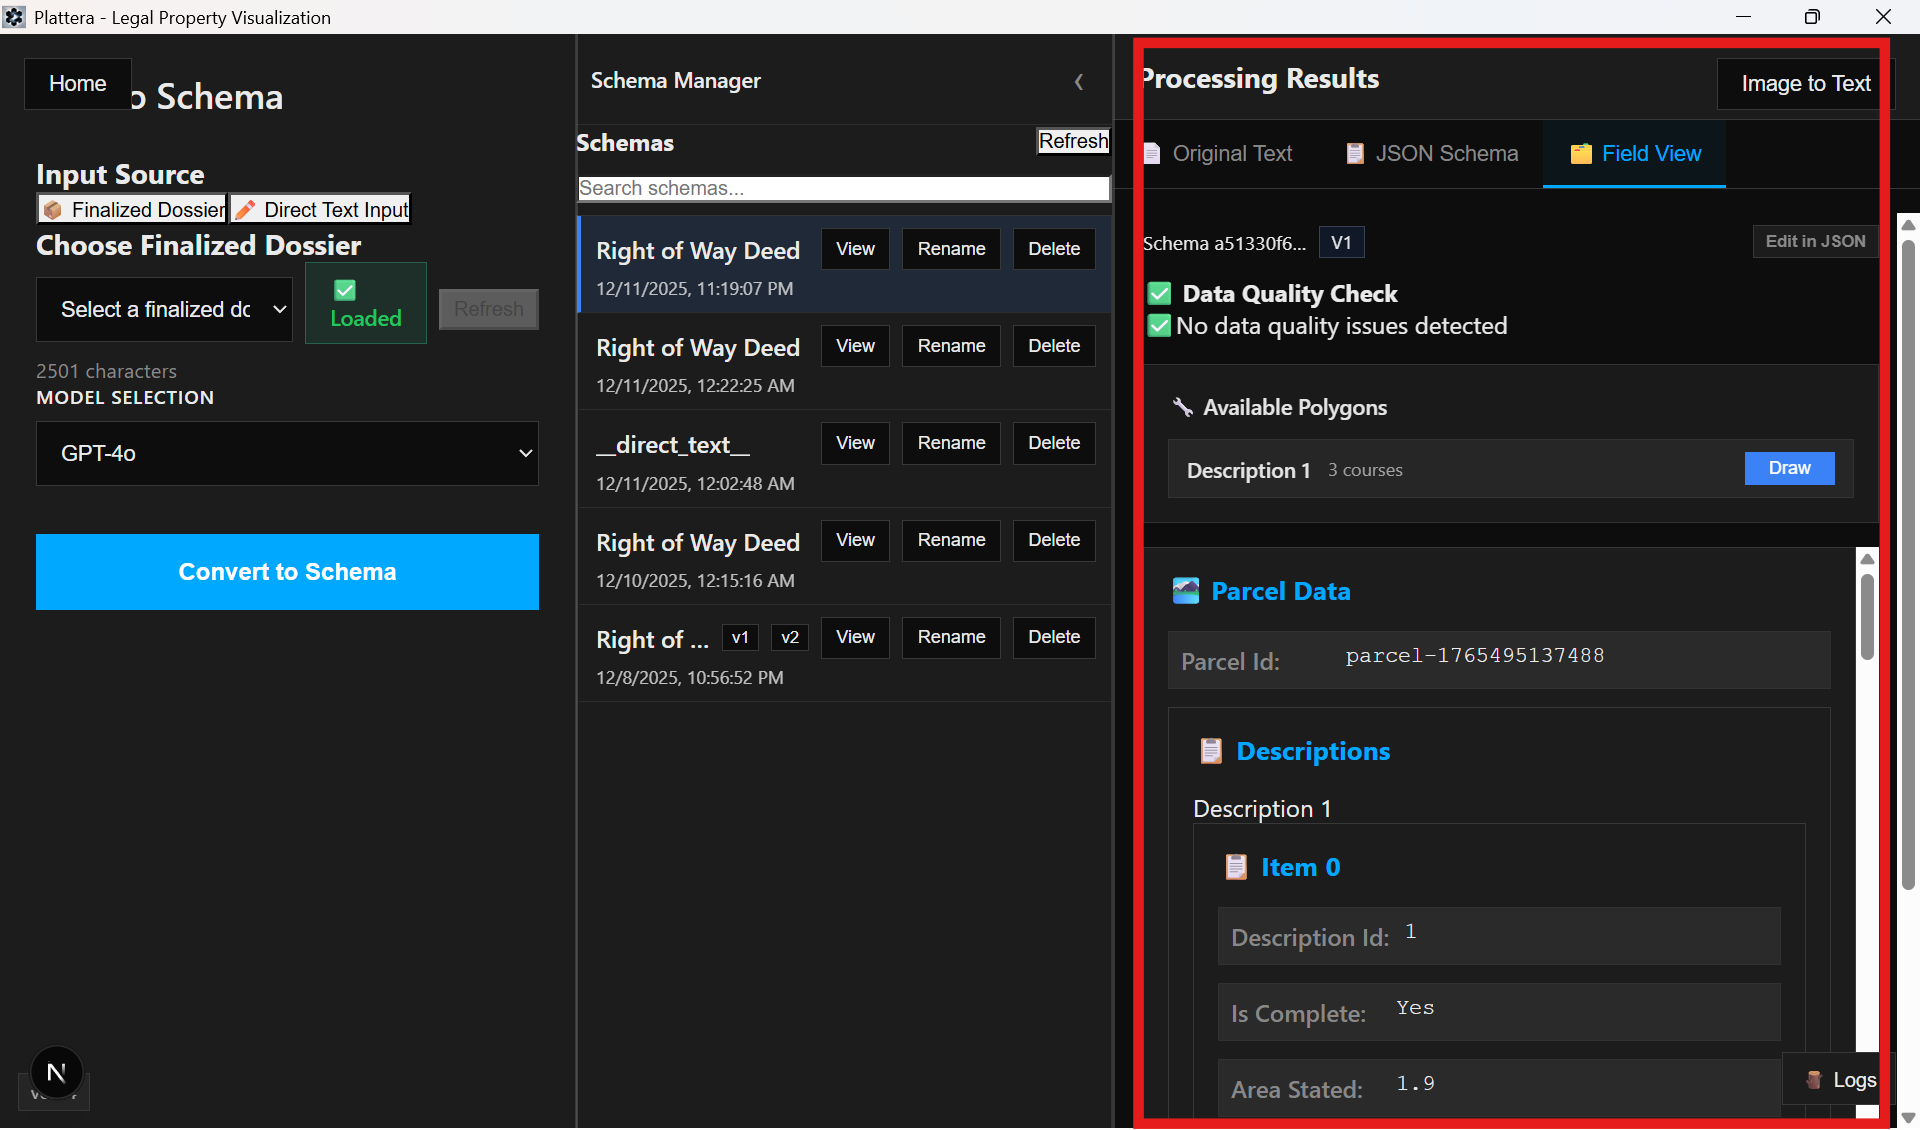
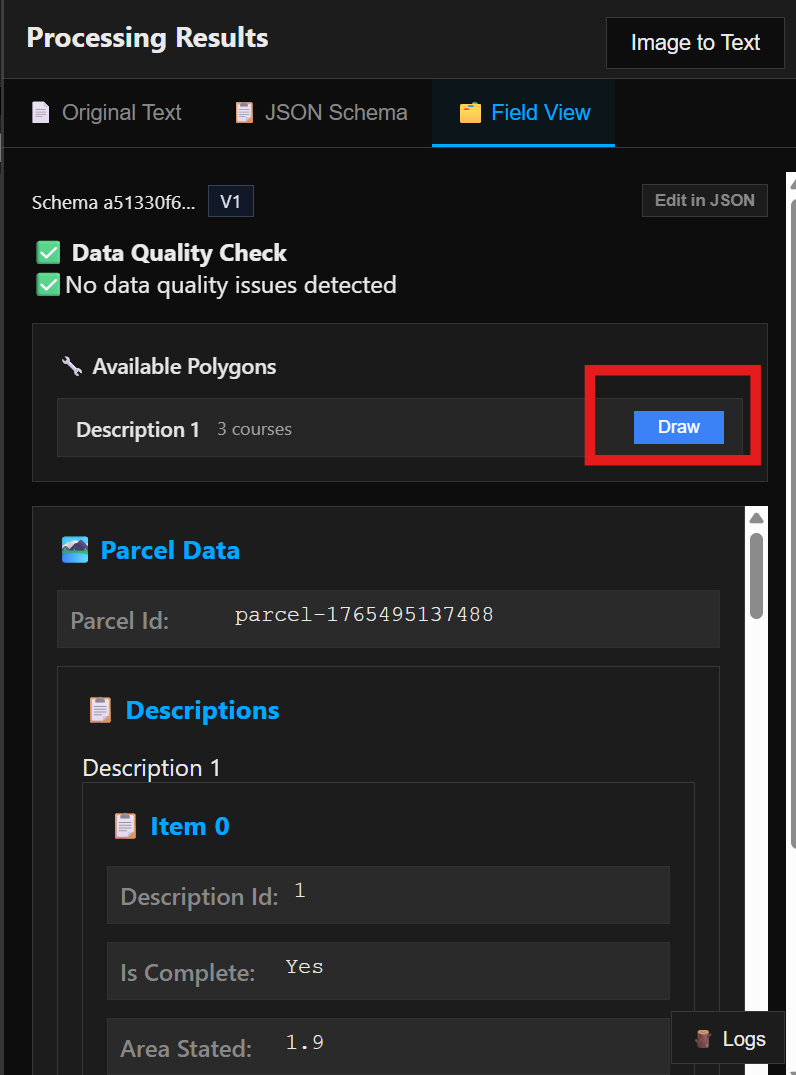
Results Viewer: Field View
Field View organizes the schema into readable sections and flags quality check advisories.
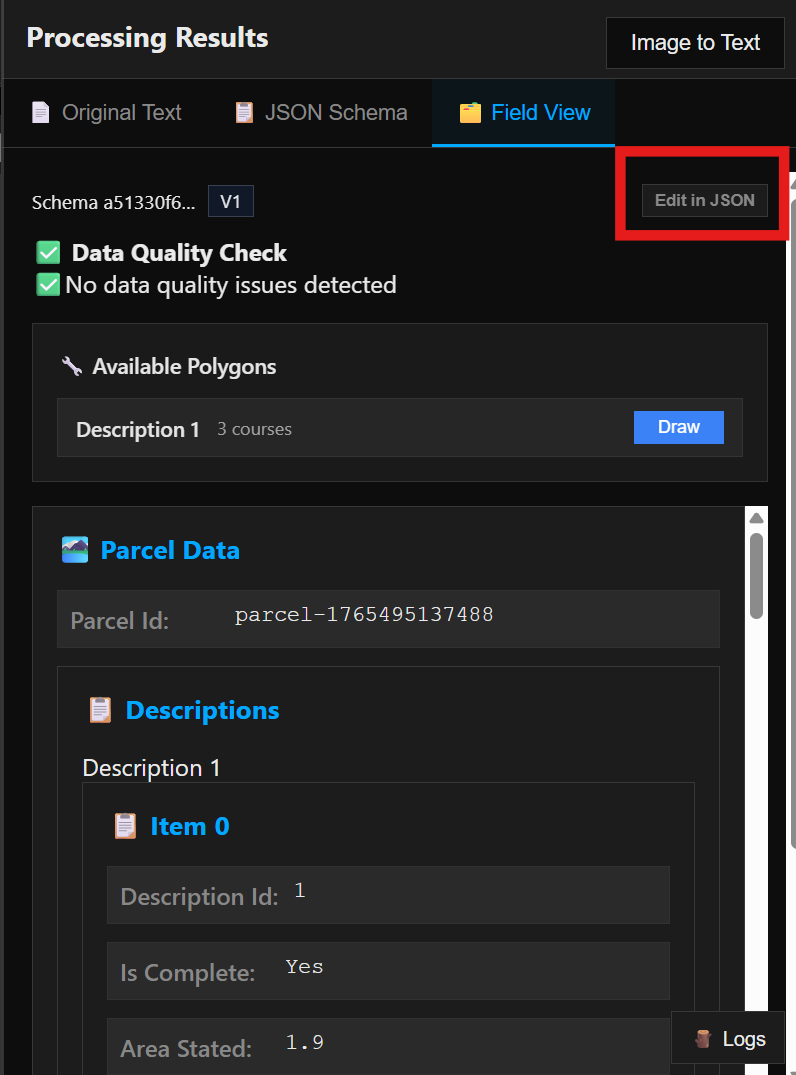
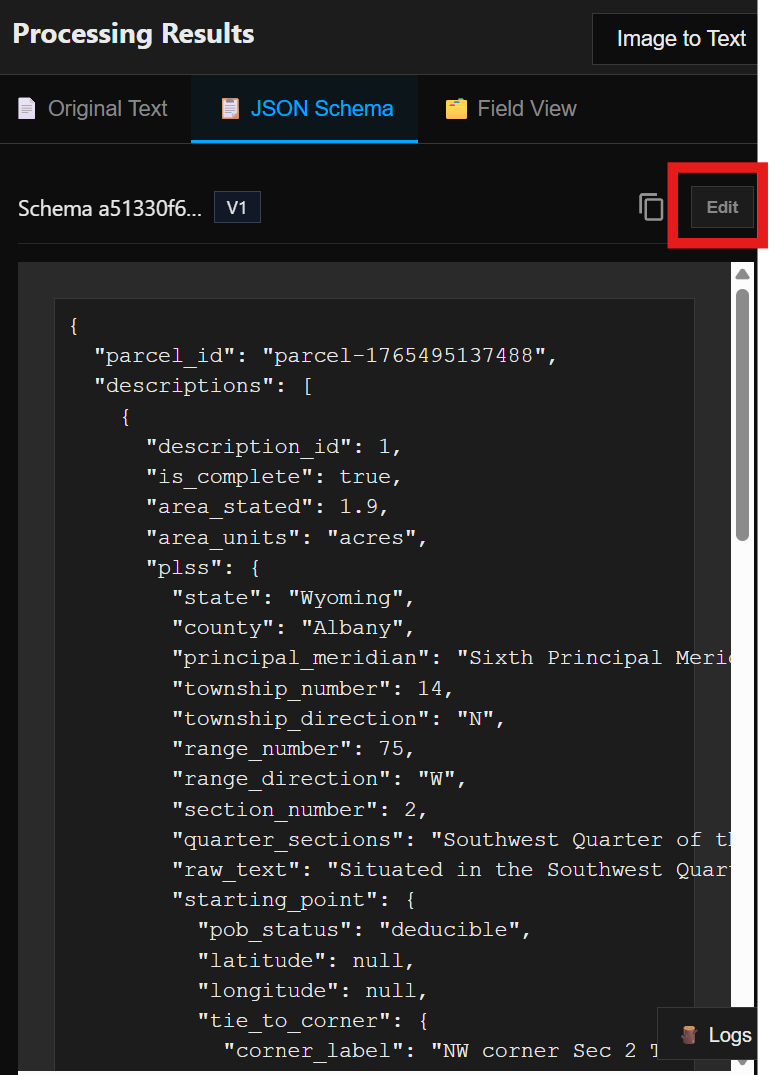
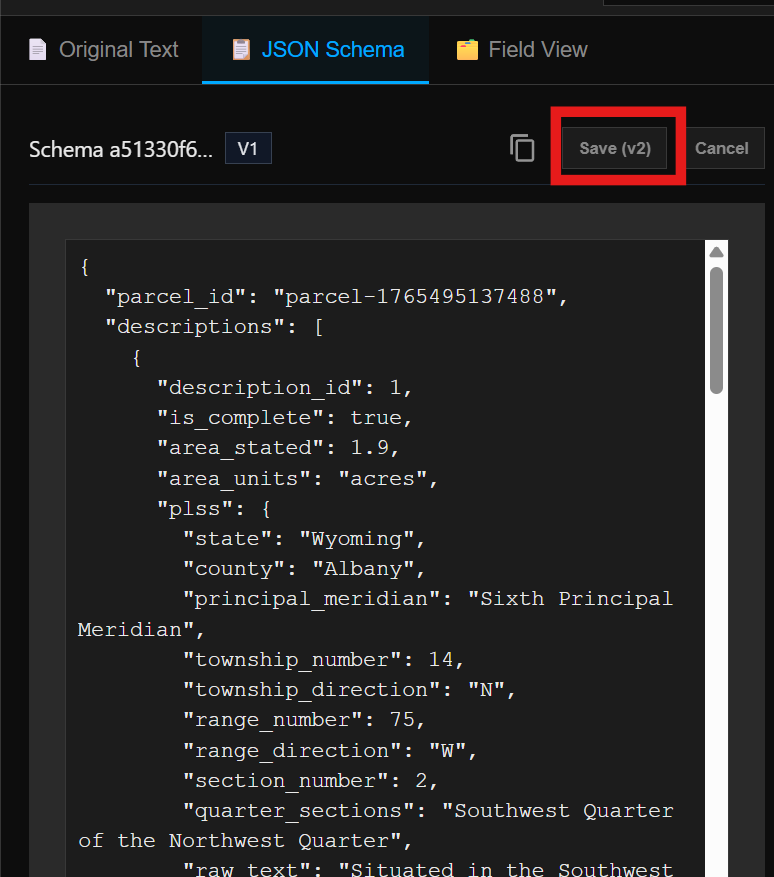
Results Viewer: JSON tab
Use the JSON tab for detailed schema edits and save a v2 output.
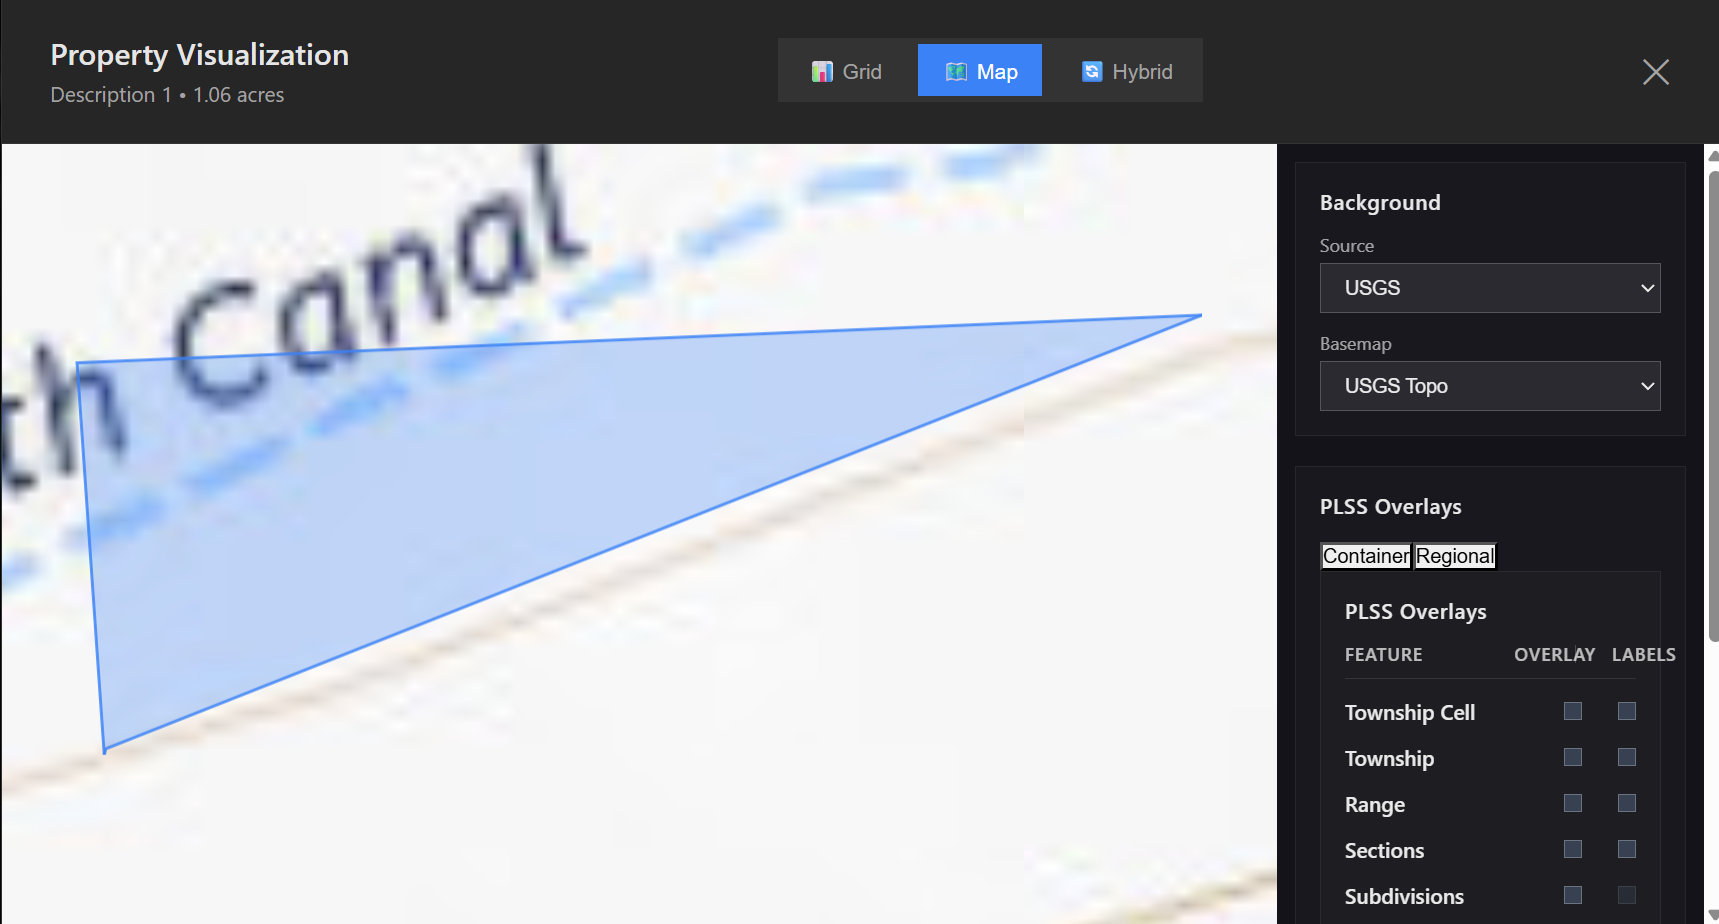
Draw viewer
The draw viewer lets you map parcels and verify geometry against the schema output.
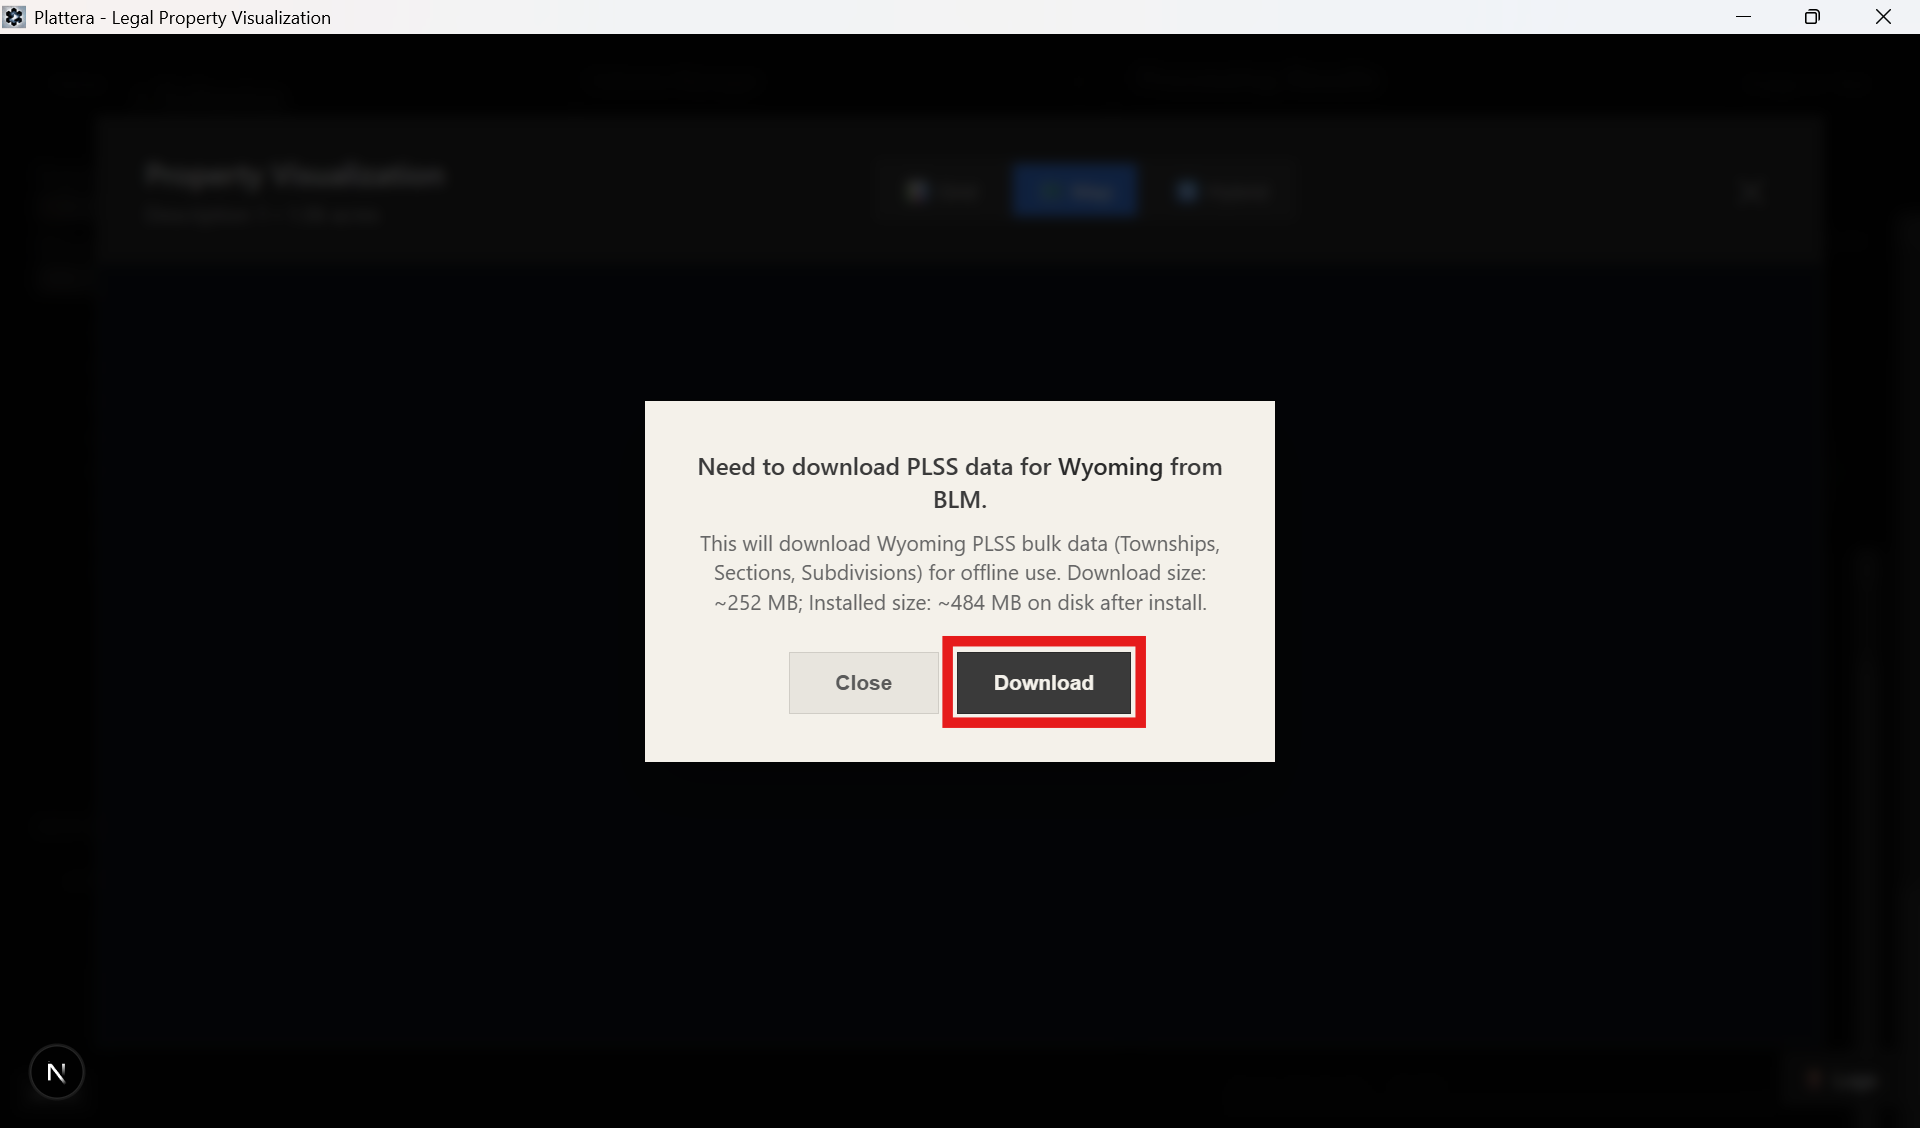
PLSS download prompt
If PLSS data is required, Plattera will prompt you to download it before mapping.
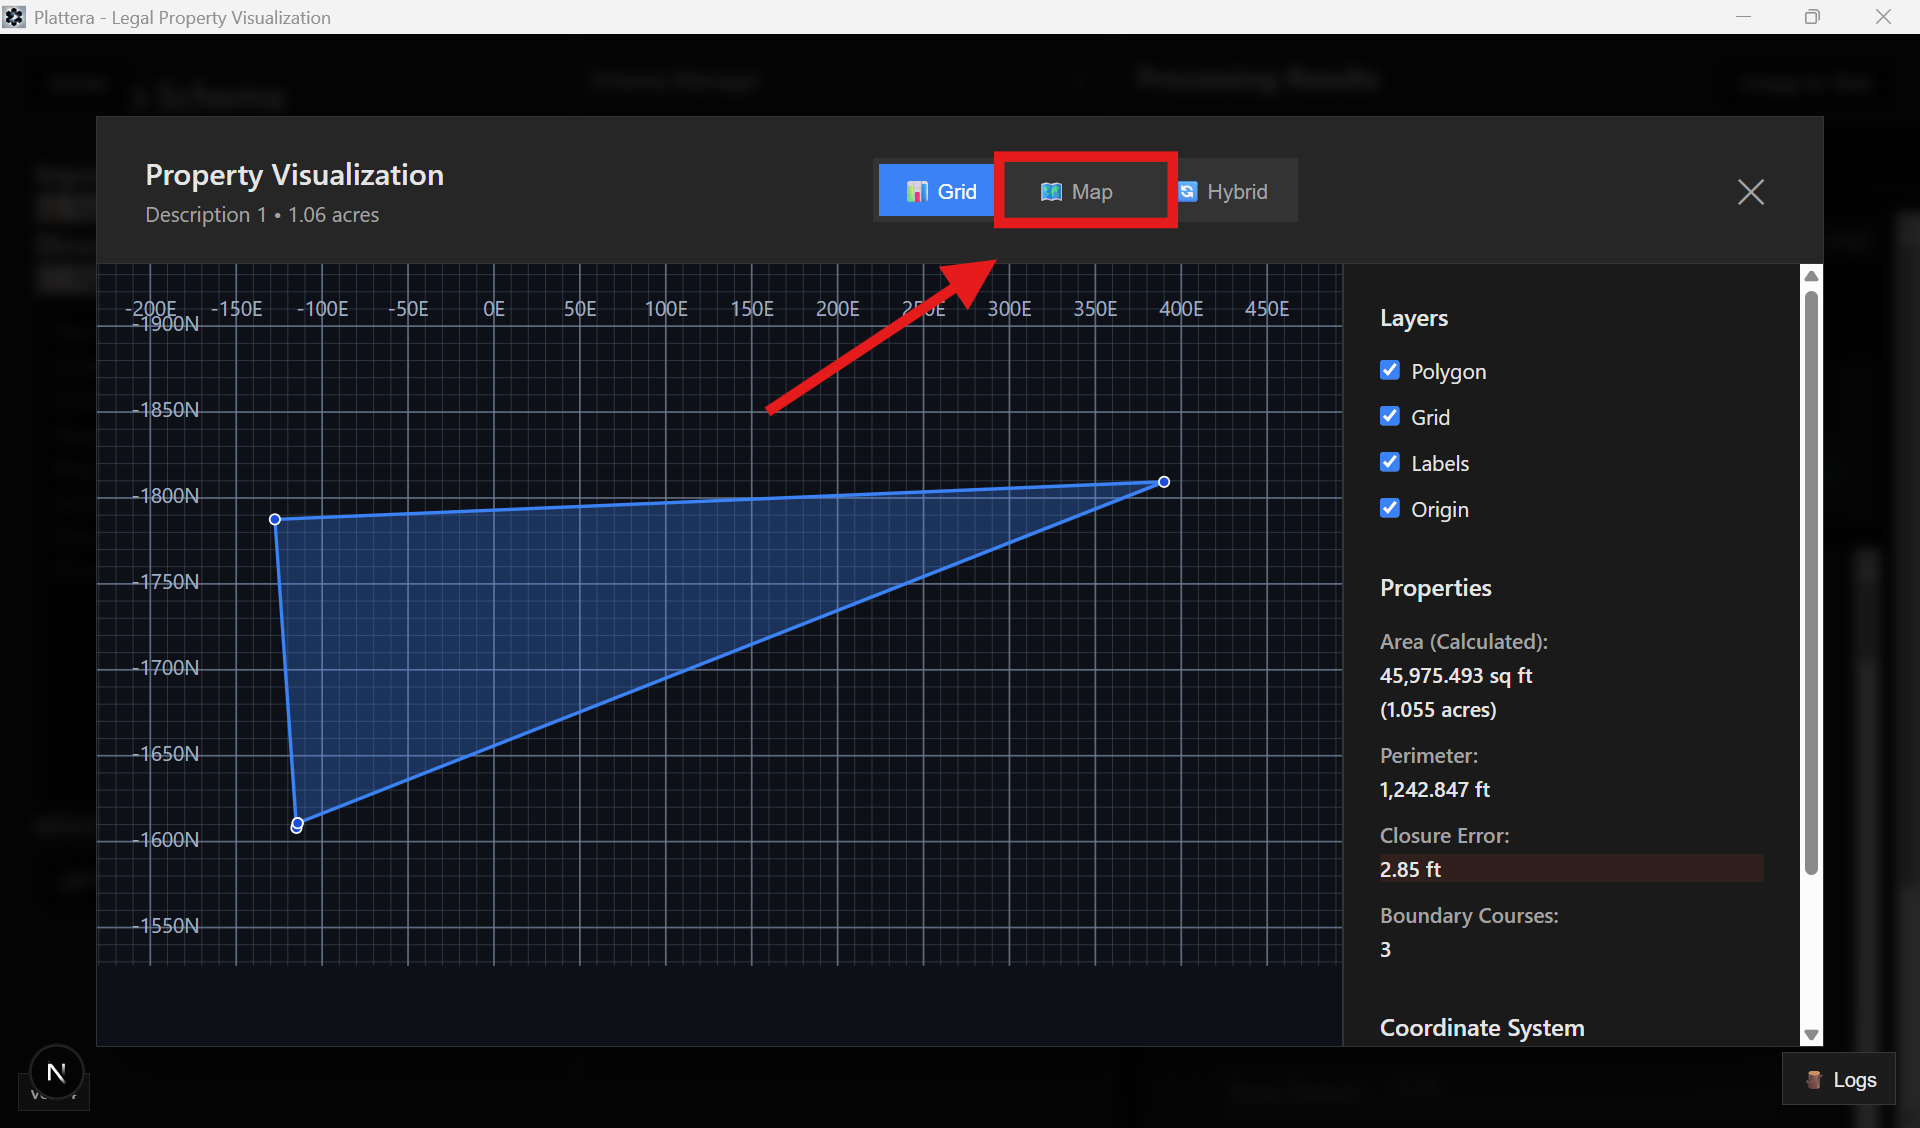
Mapped polygon preview
Review the mapped polygon in the map view and confirm it matches the deed description.
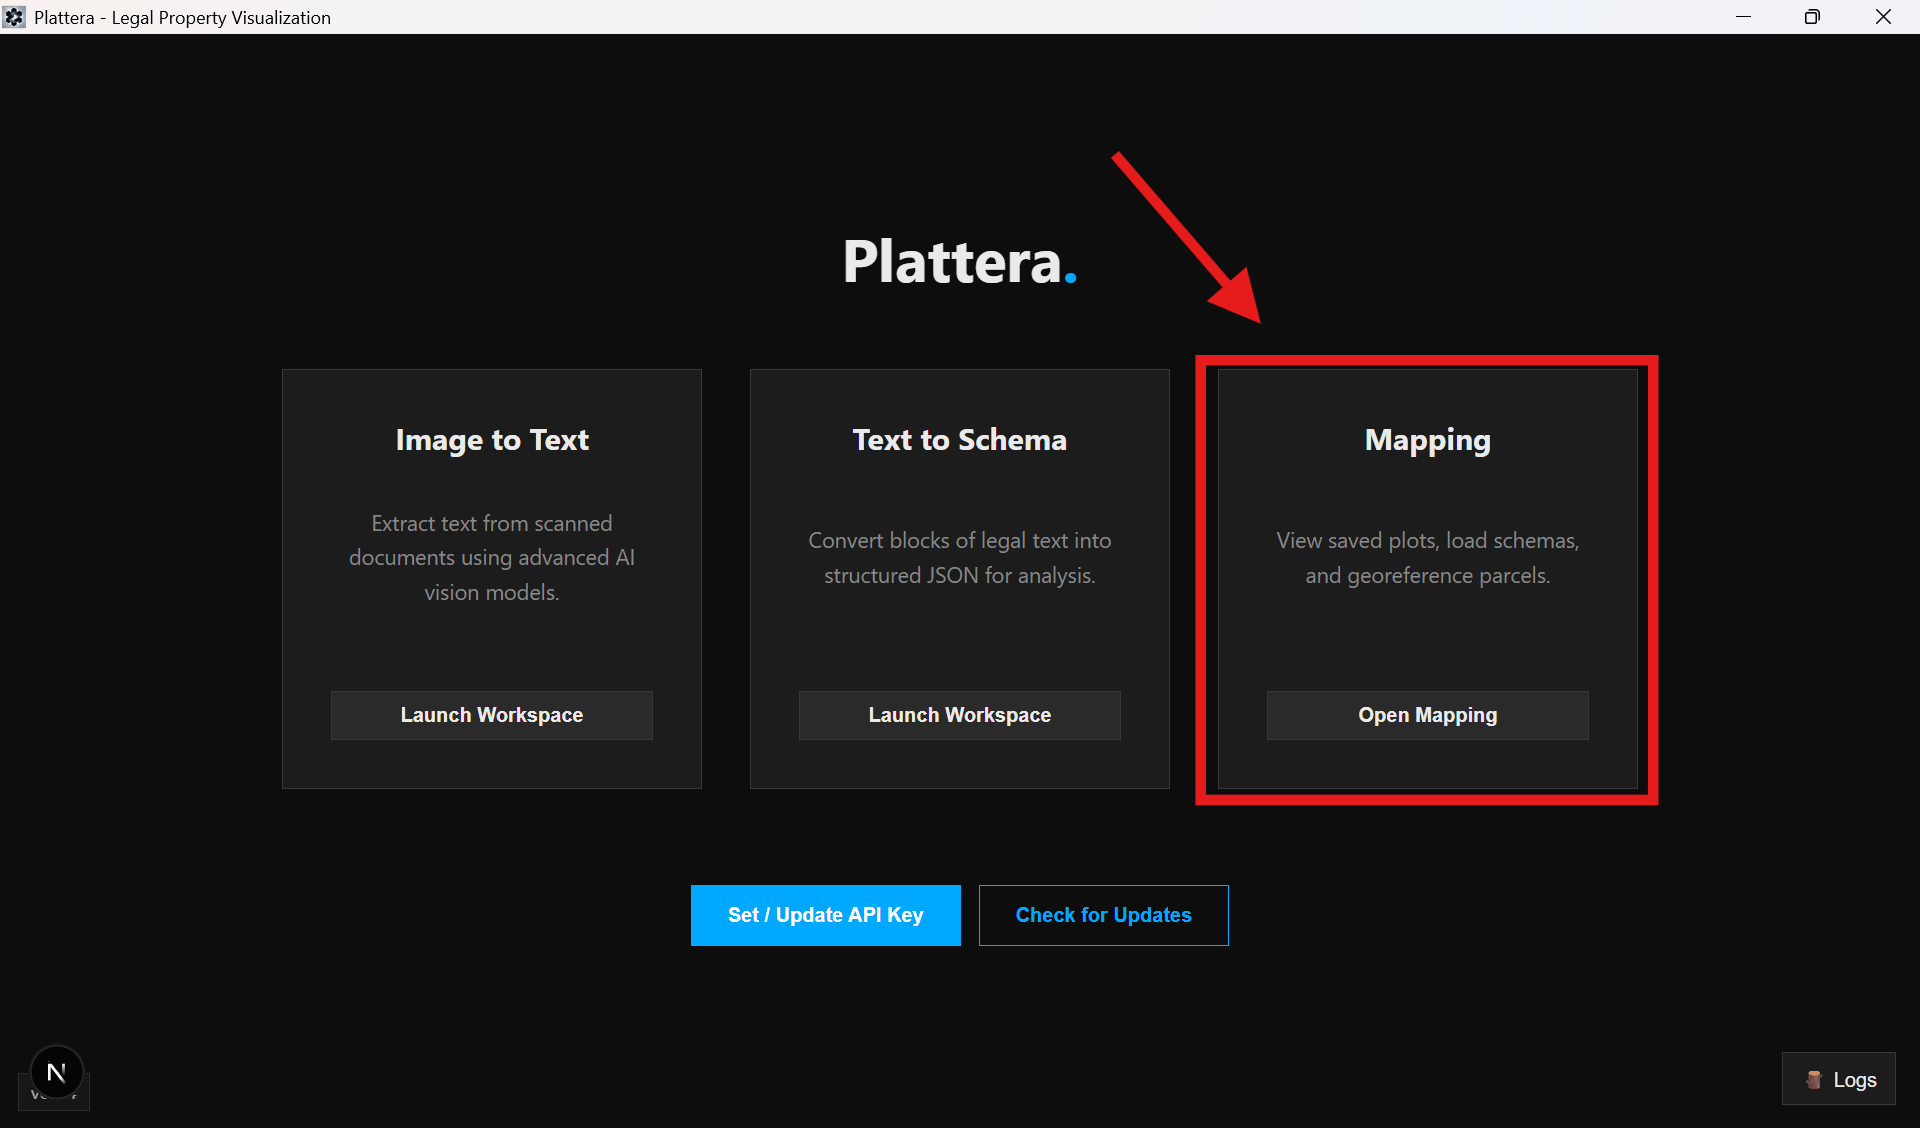
Map Workspace
Map Workspace walkthrough
Watch on YouTubeStarts at 39:12
The Map workspace is where you review mapped parcels, manage overlays, and validate results against PLSS context.
Entry points
There are two ways to access the map workspace: the home screen card or the Draw → Map flow from Text to Schema.
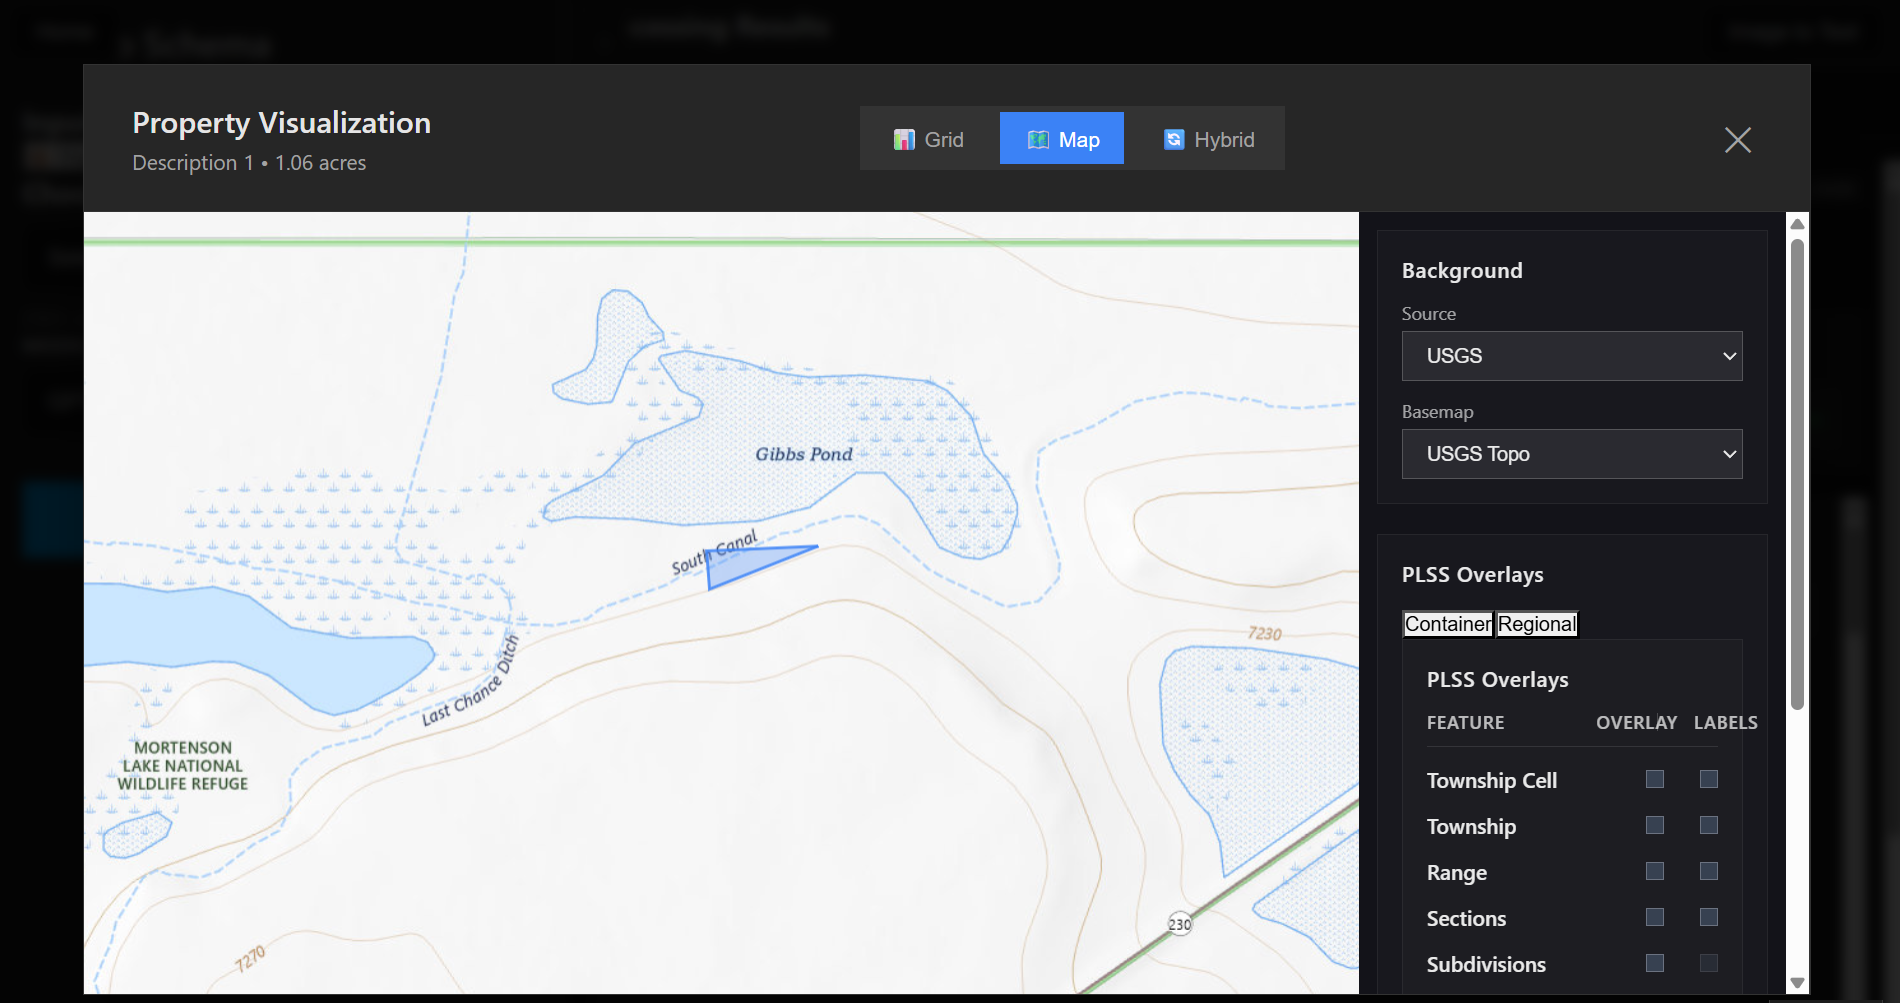
Map workspace layout
Use the main map view to inspect the plotted parcel and related overlays.

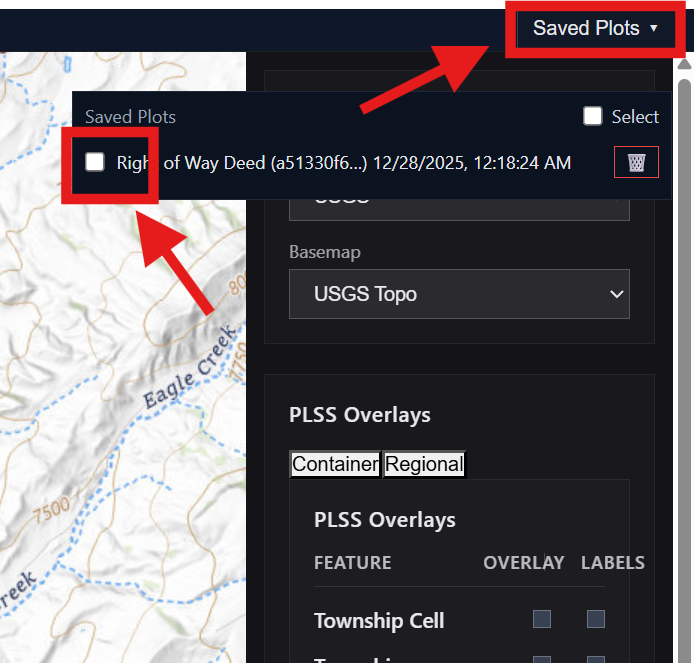
Saved plots
Switch between saved plots to compare outputs or revisit previous parcels.
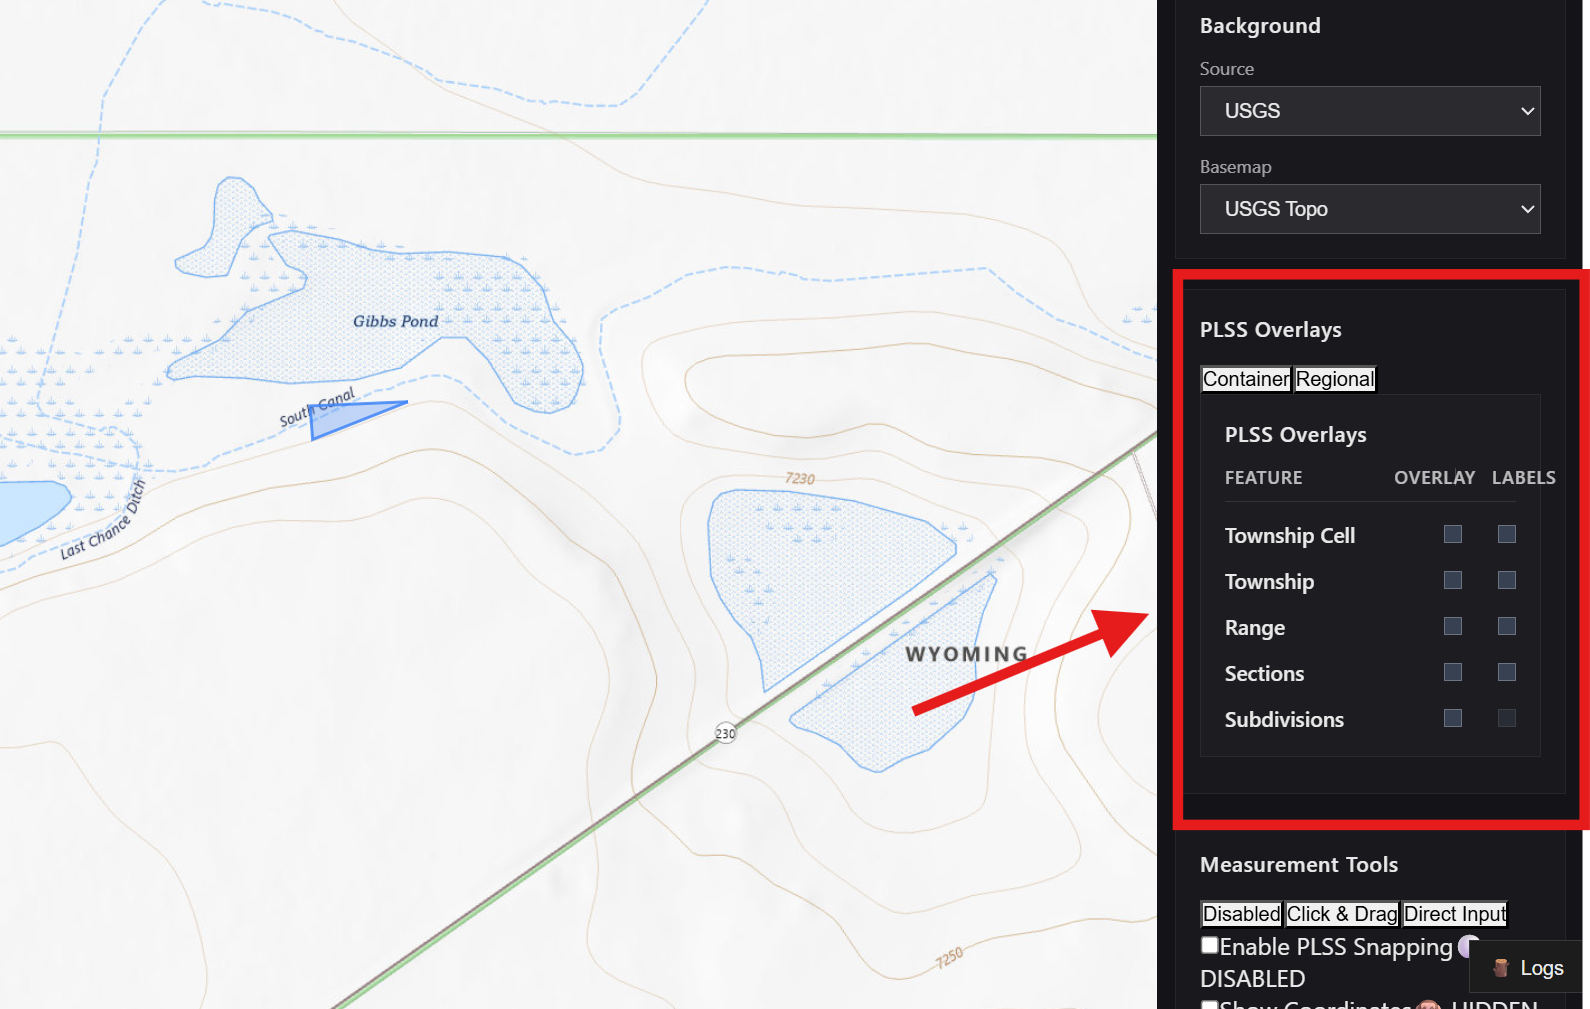
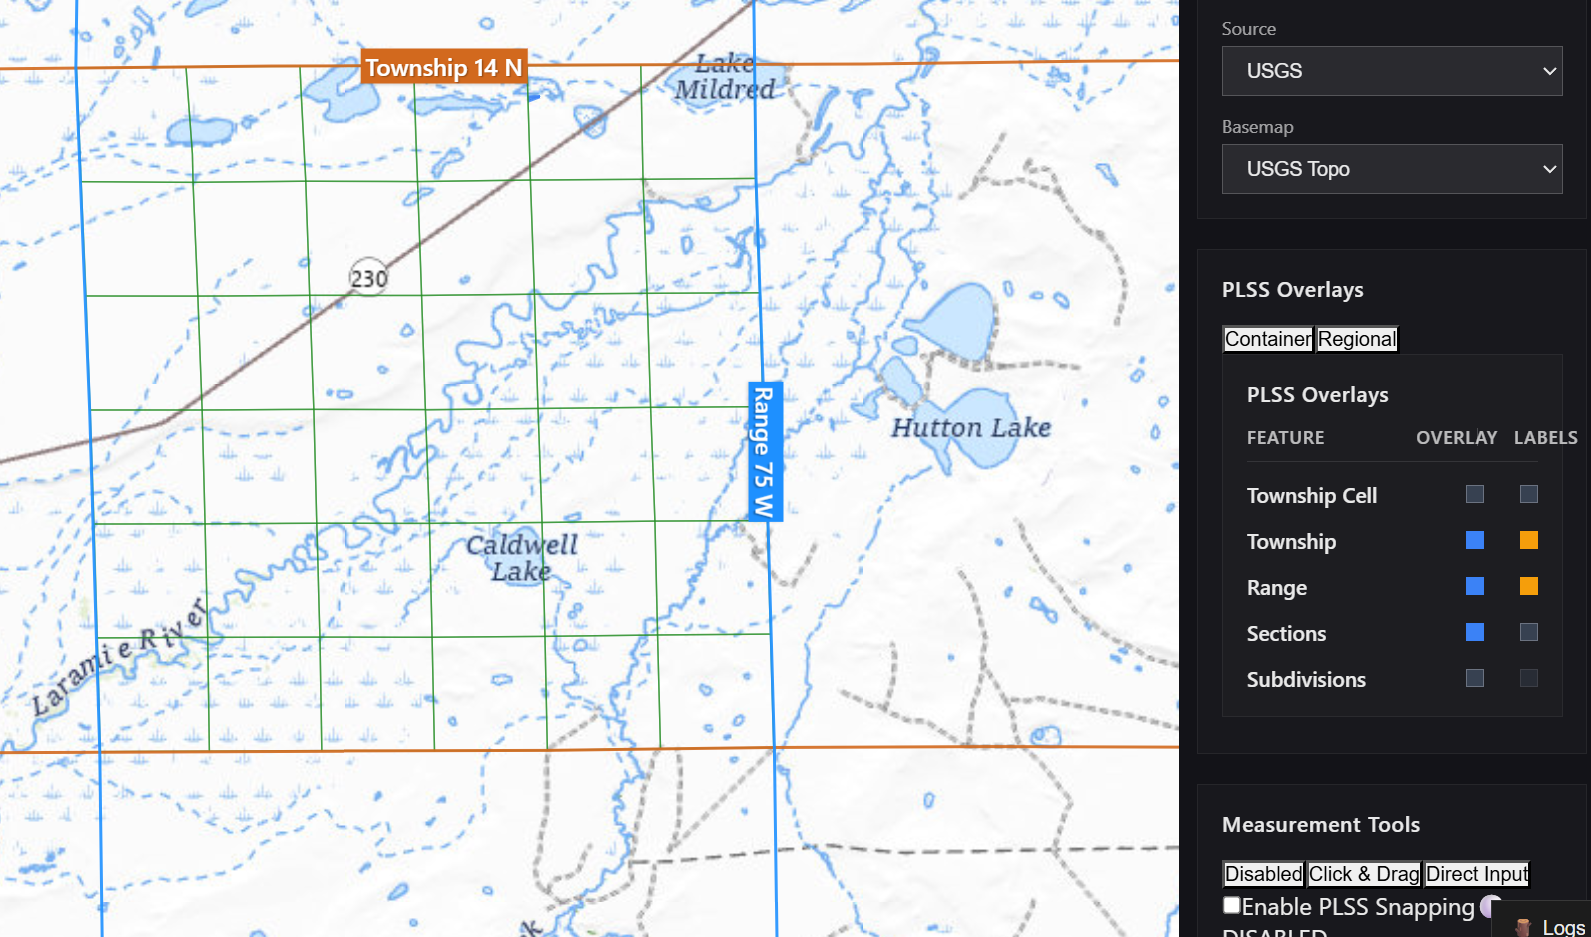
PLSS overlays
Enable PLSS overlays to validate township, range, and section context for the parcel.
PLSS Data Download
PLSS Data Download walkthrough
Watch on YouTubeStarts at 36:06
Plattera will prompt you to download PLSS data when it is required.

Click Download to begin. You can close the modal (or click outside it) without interrupting the download.
Use Stop only if you want to cancel; restarting later will begin from the start.
Progress continues in the bottom download banner, so you can keep working elsewhere in Plattera. Click View in the banner to reopen the modal at any time.
Alignment Engine
Alignment Engine walkthrough
Watch on YouTubeStarts at 47:12
Watch the alignment workflow and review how to reconcile drafts.
How to Update the Application
How to Update the Application walkthrough
Watch on YouTubeStarts at 56:58
Follow the update workflow to stay current.